Violin #1, 2017 – Ribs
This post will show photos of the making of the ribs and linings from start to finish, with the exception of the shaping of the lings which will happen later, when the ribs are off the mould.
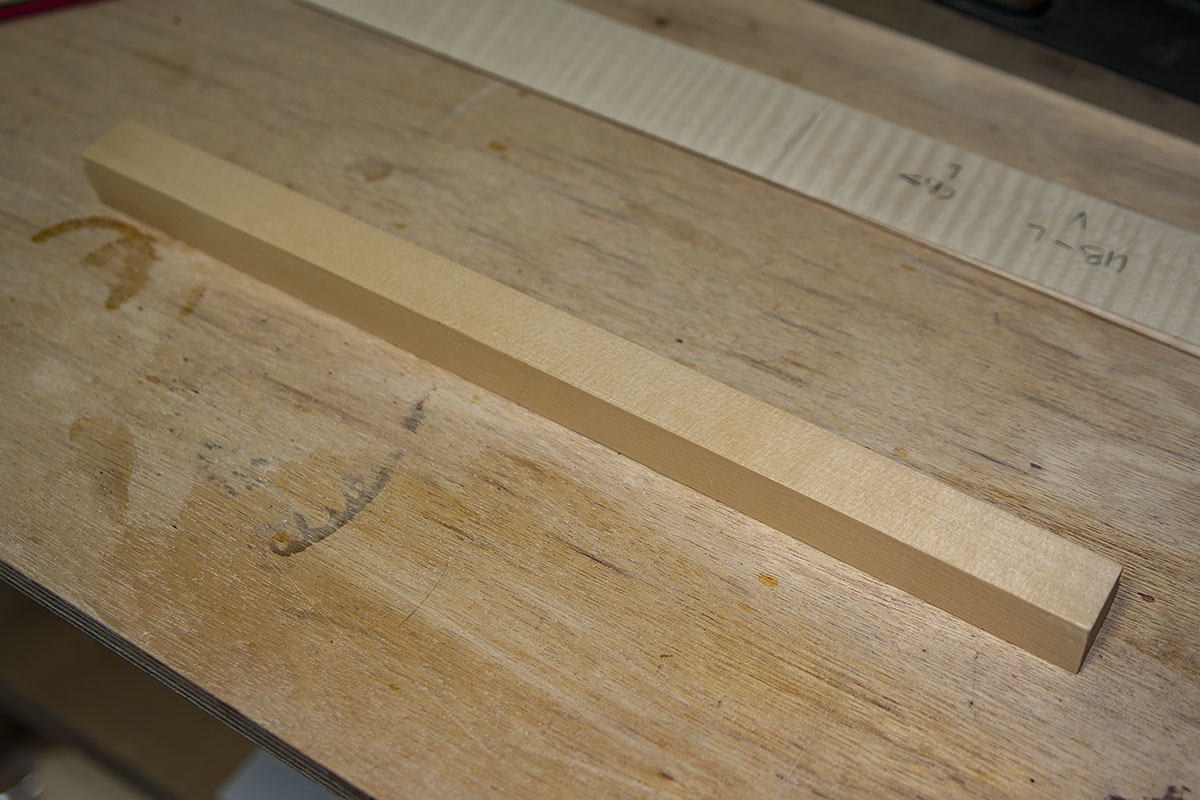
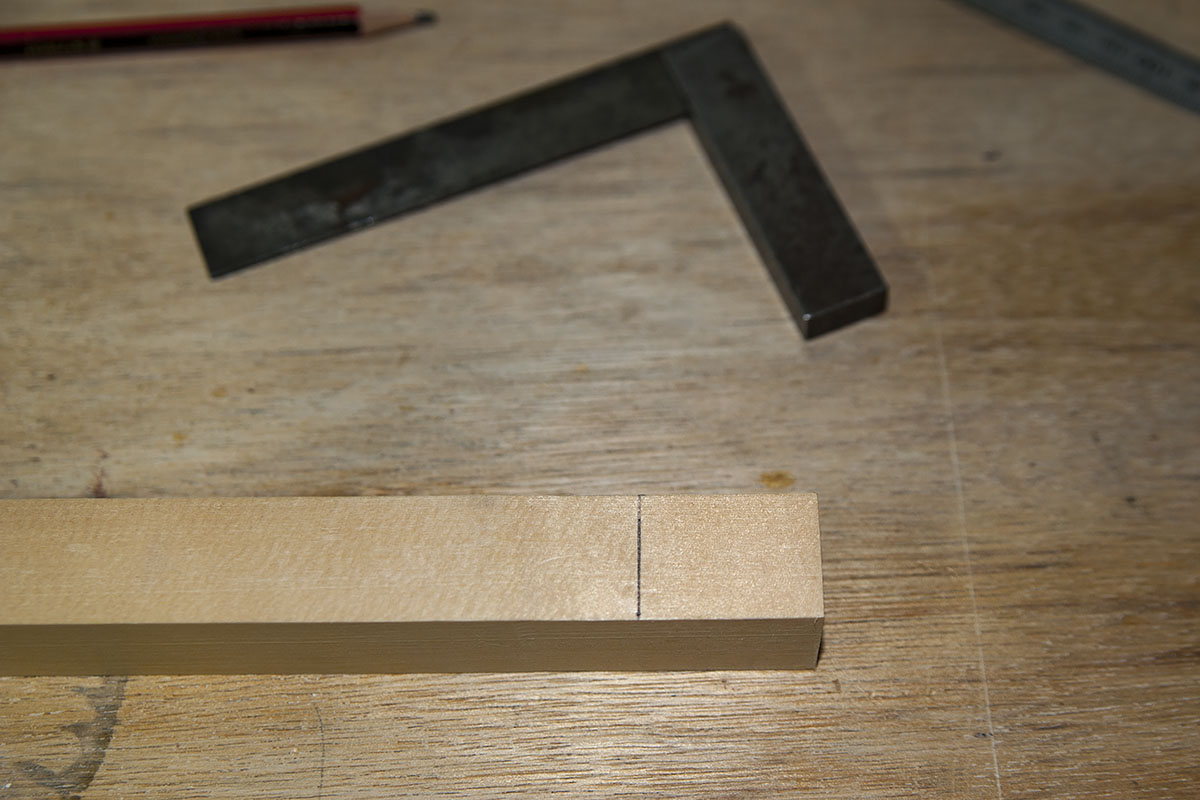
First the ribs need to be thinned to almost the final thickness. I do this with a block plane and scrapers.

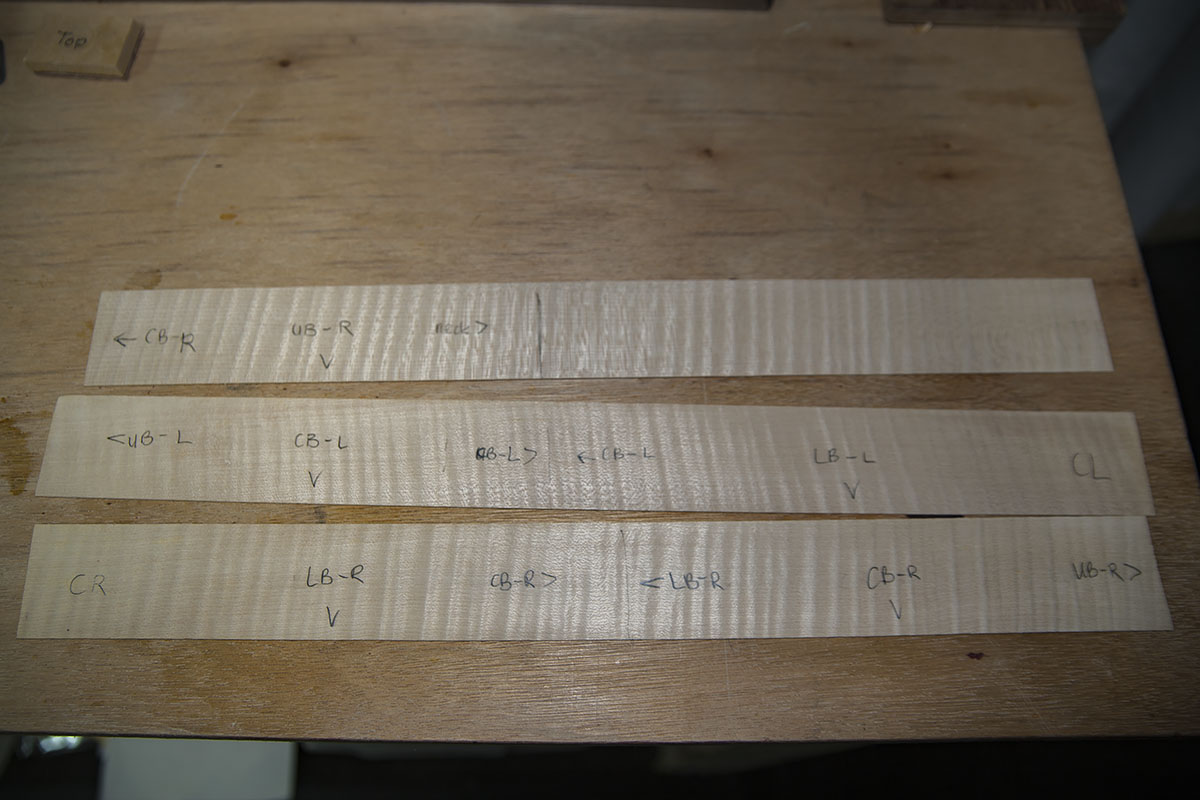
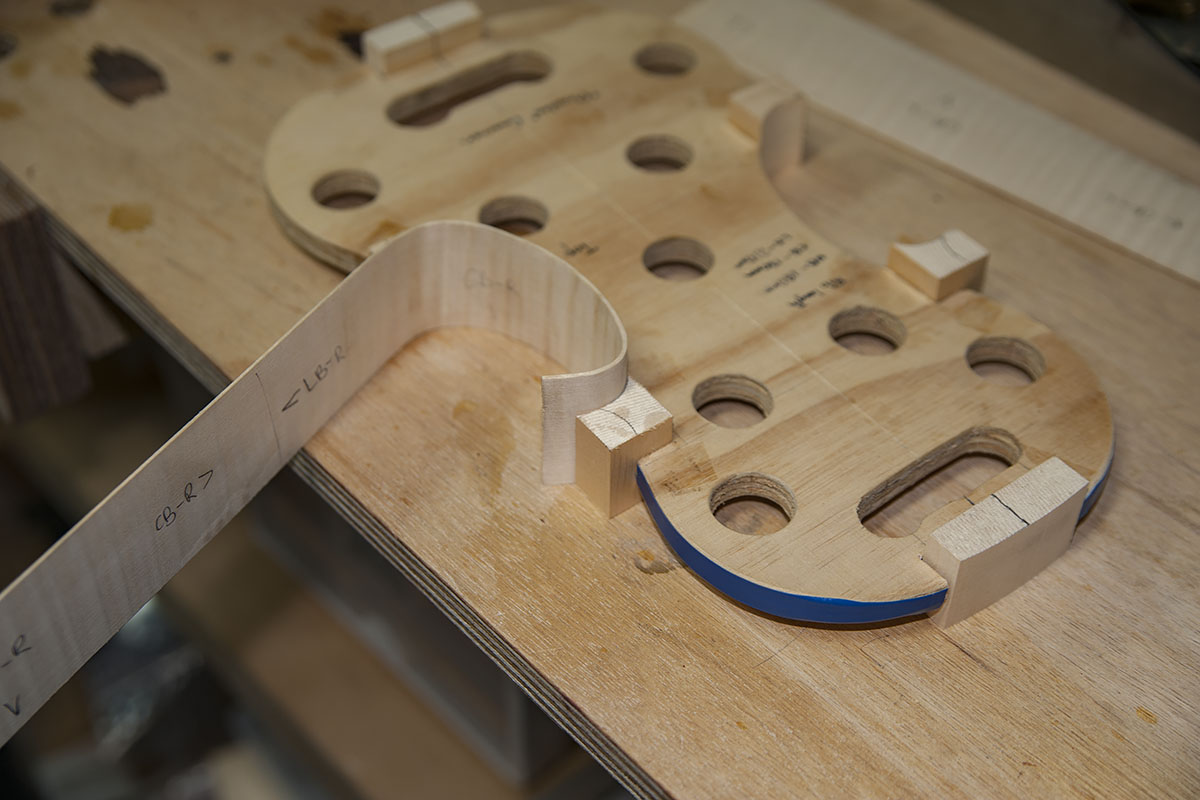
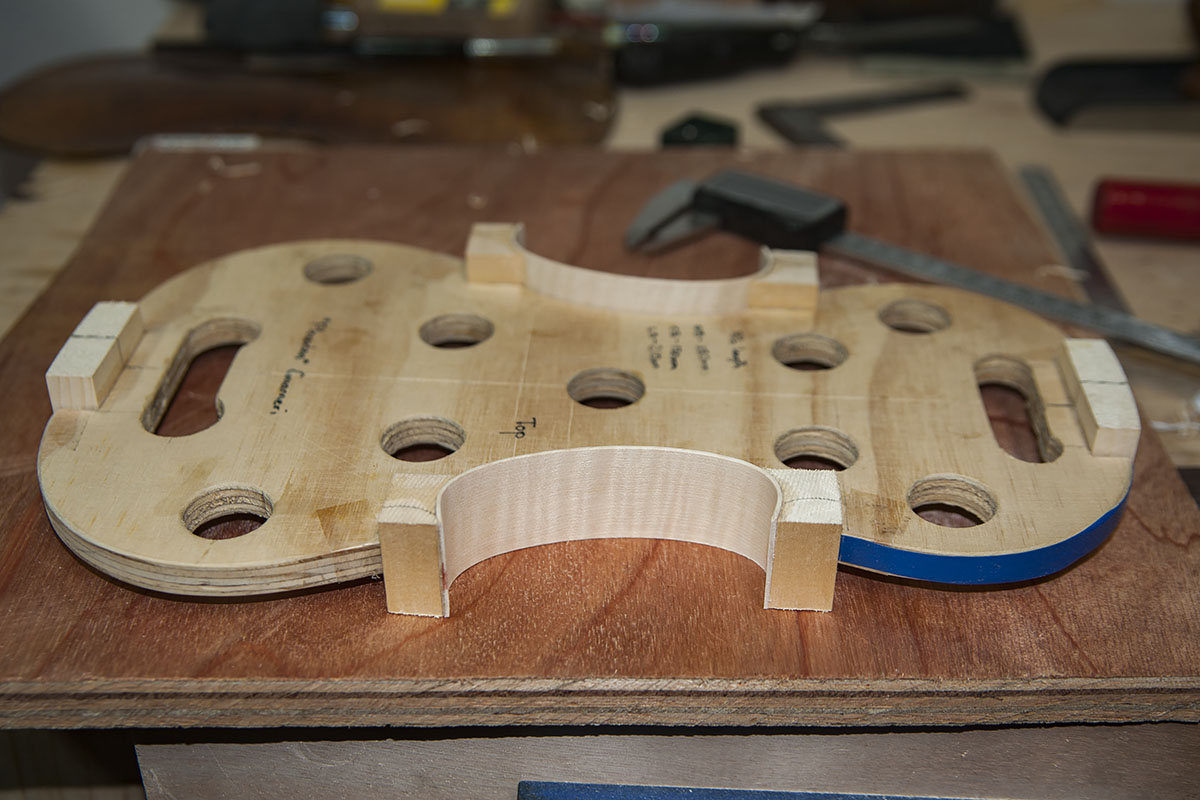
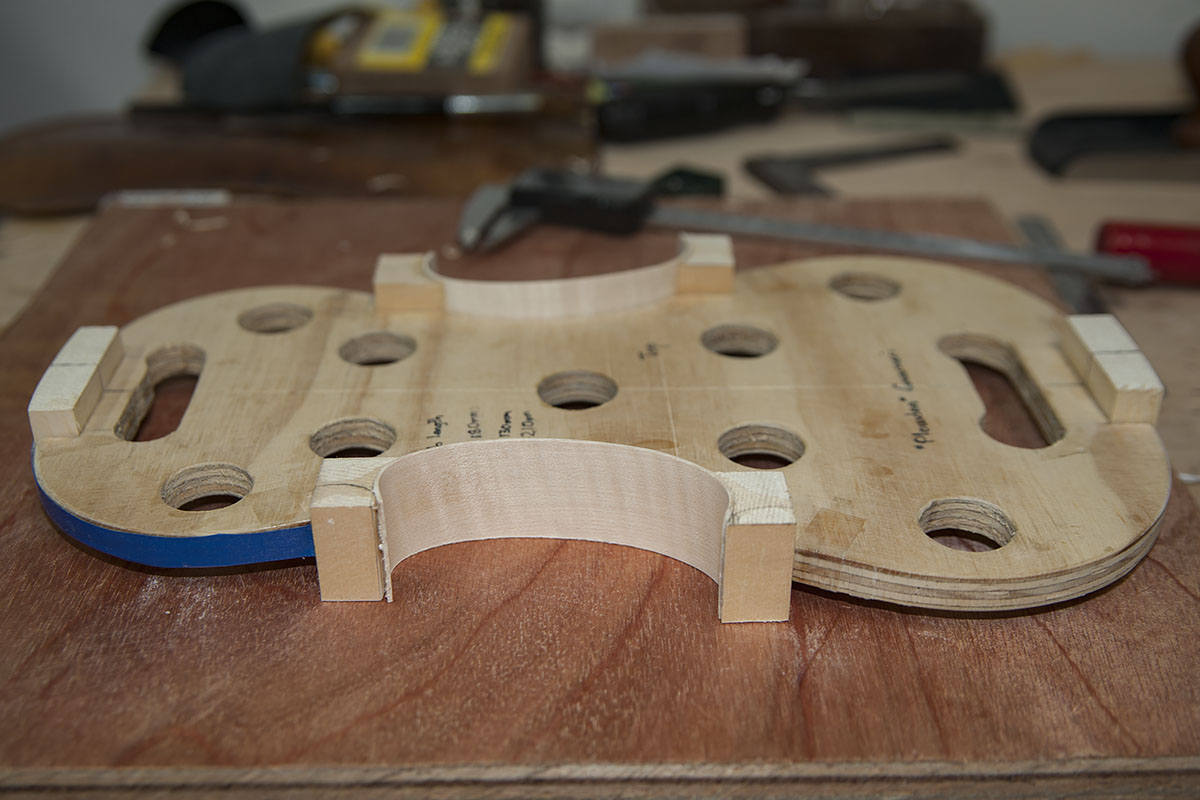
The ribs are then organised and labelled so I know which rib will go where. I want the angle of the figure in the wood to match the direction of the figure in the scroll, and point in the same direction on each side.
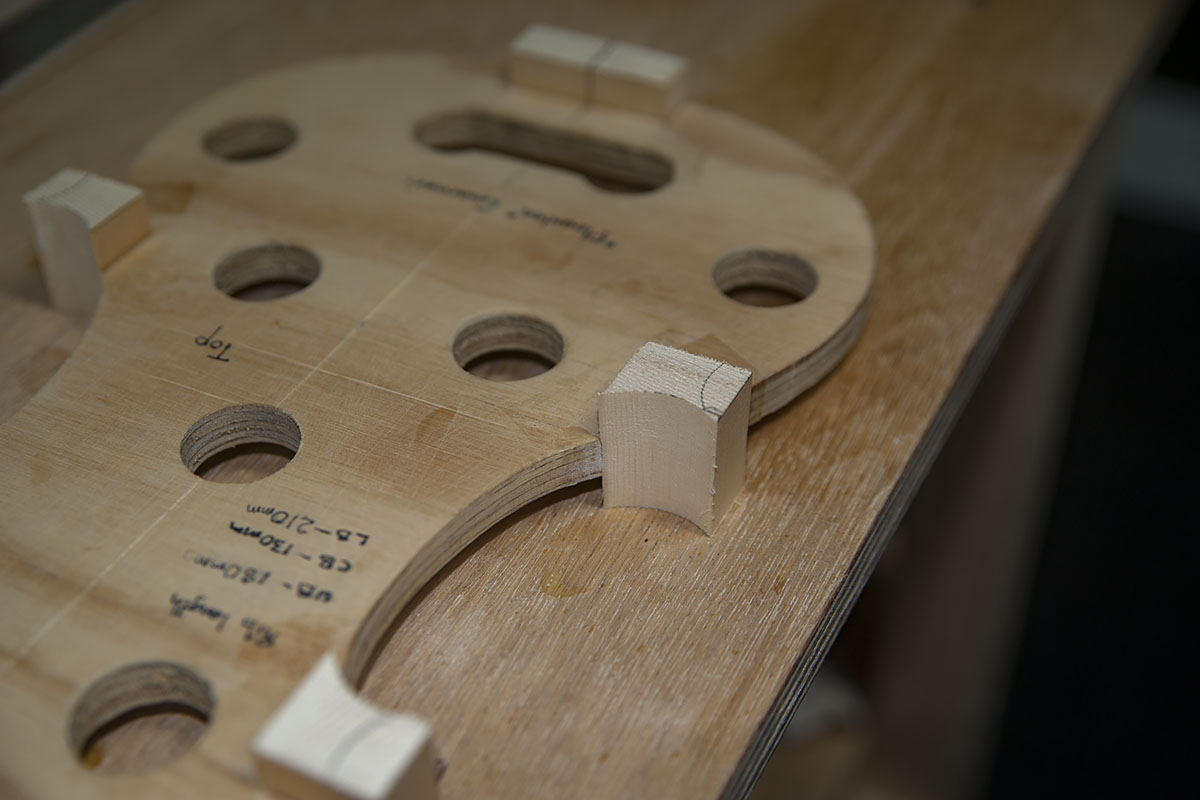
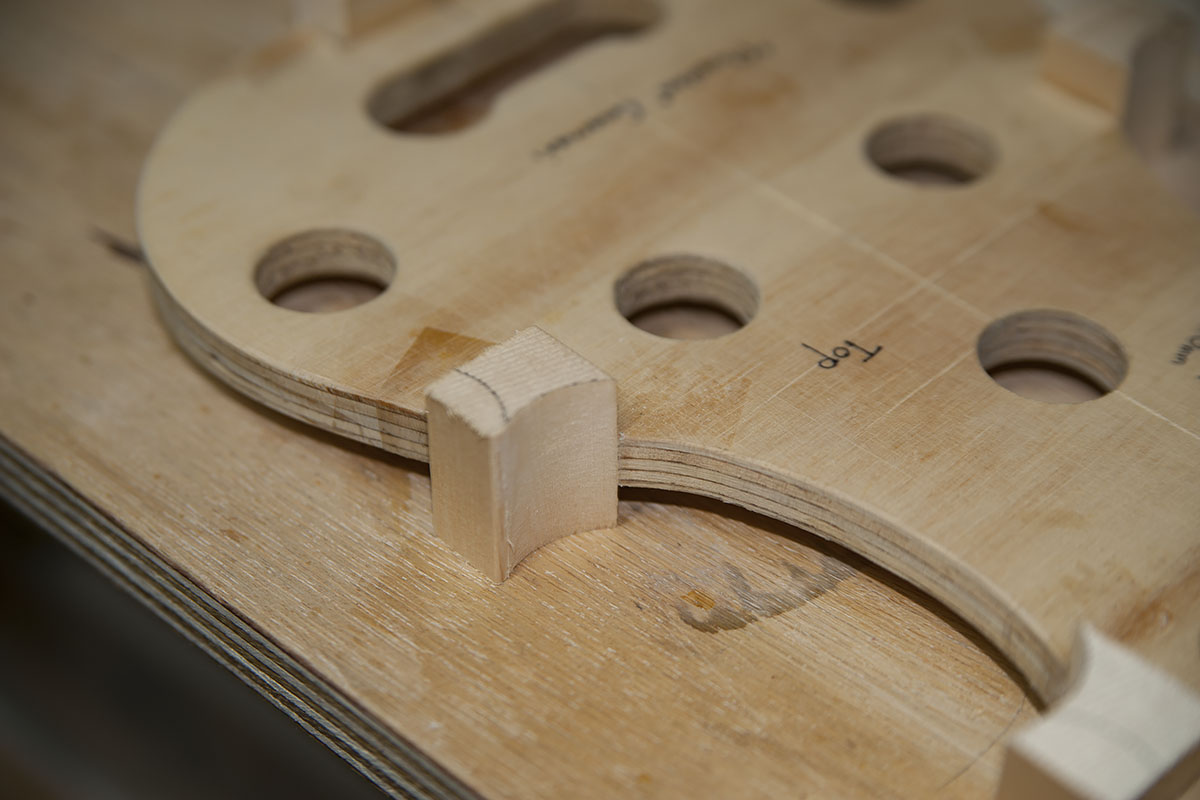
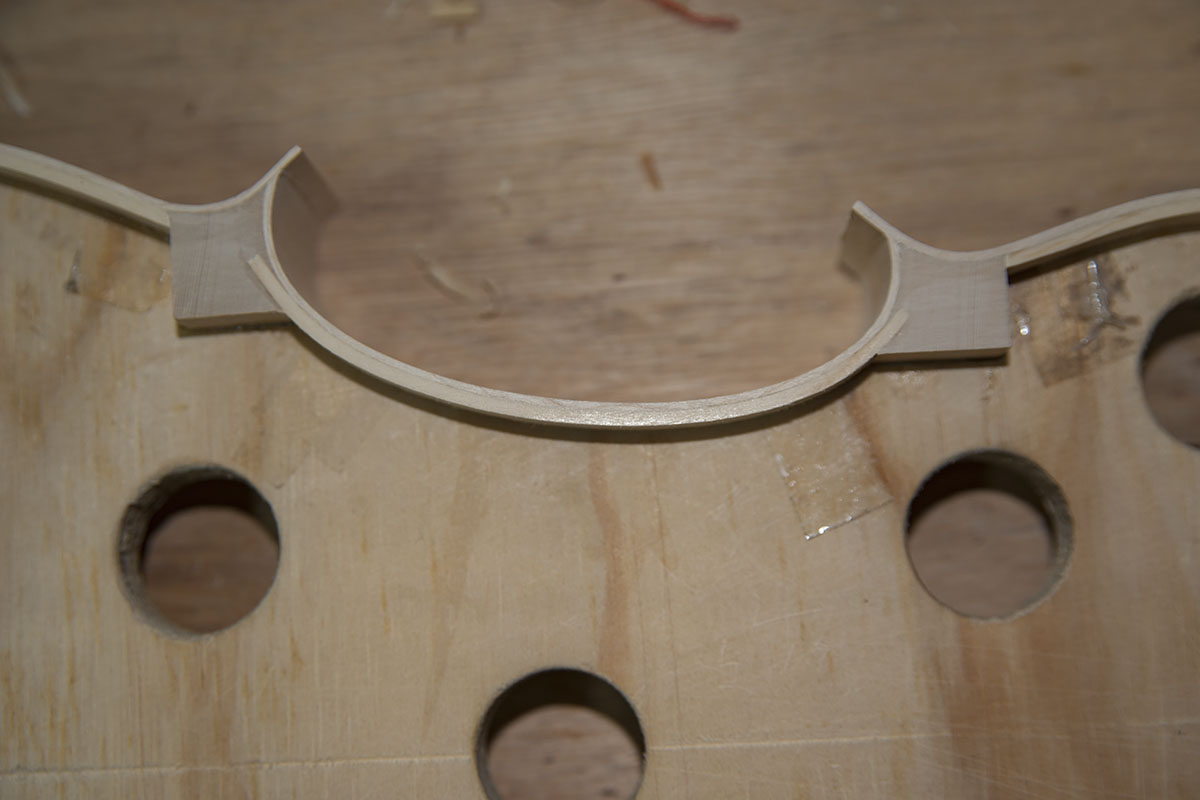
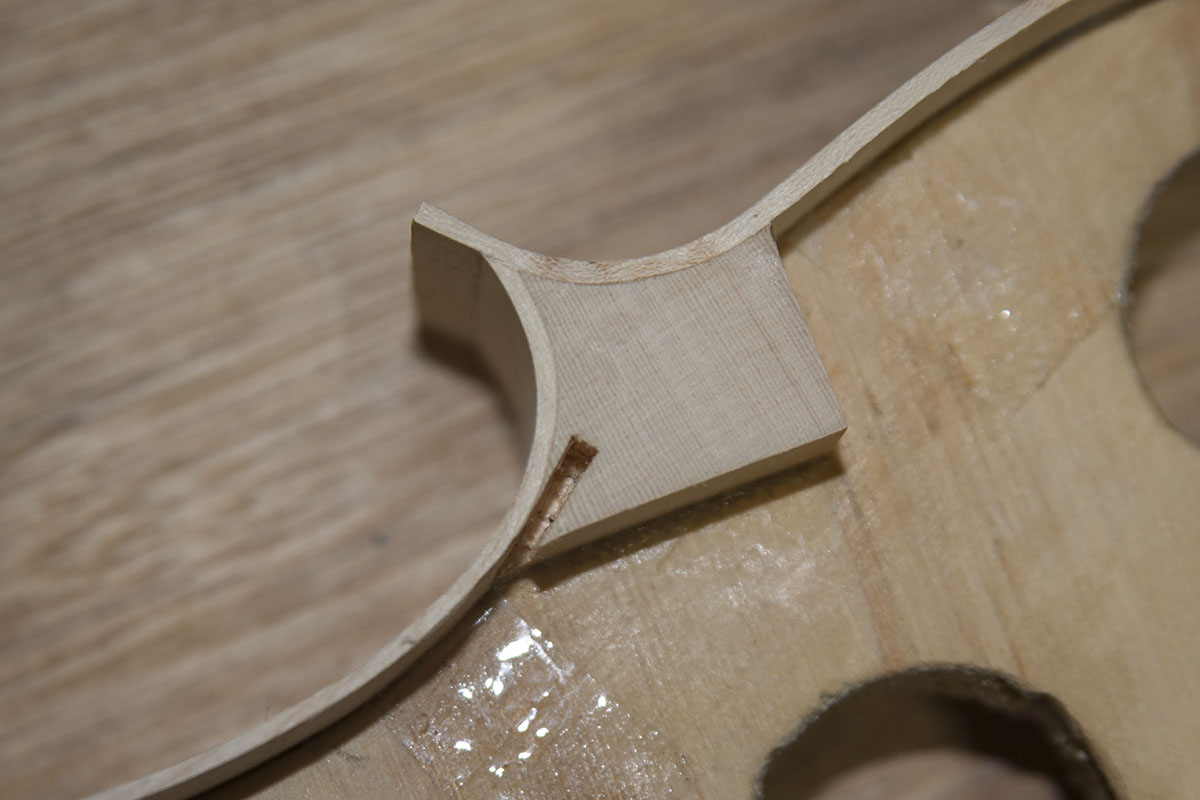
The spruce below will be cut to make corner blocks.
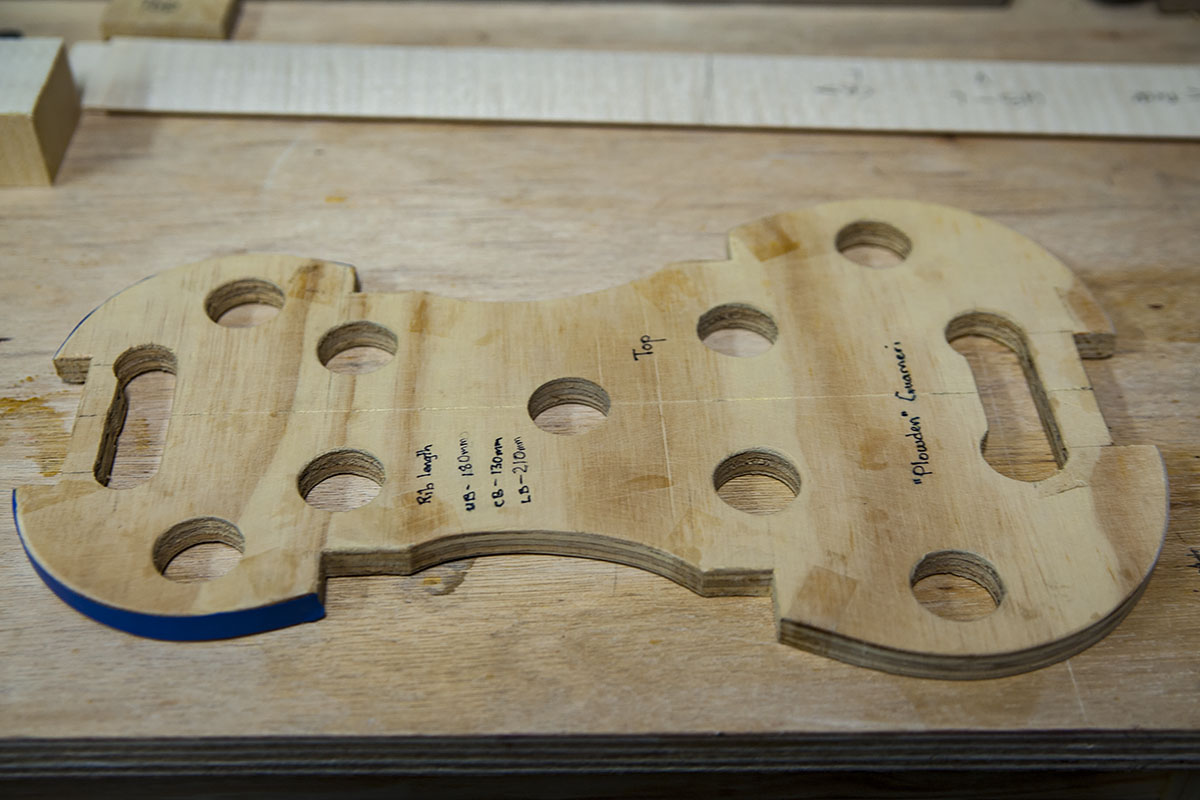
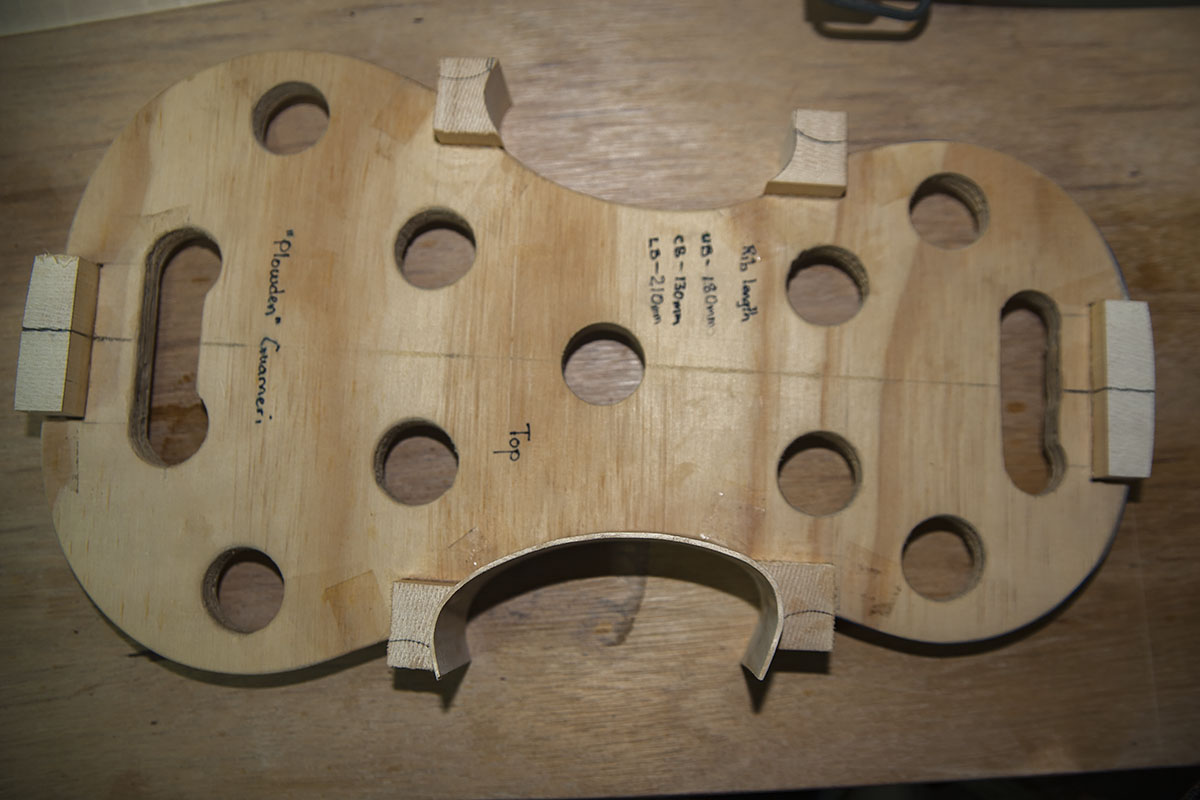
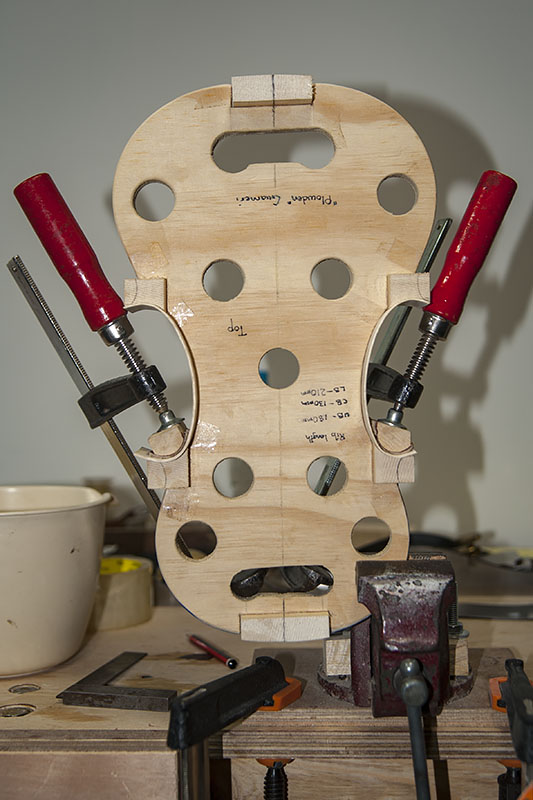
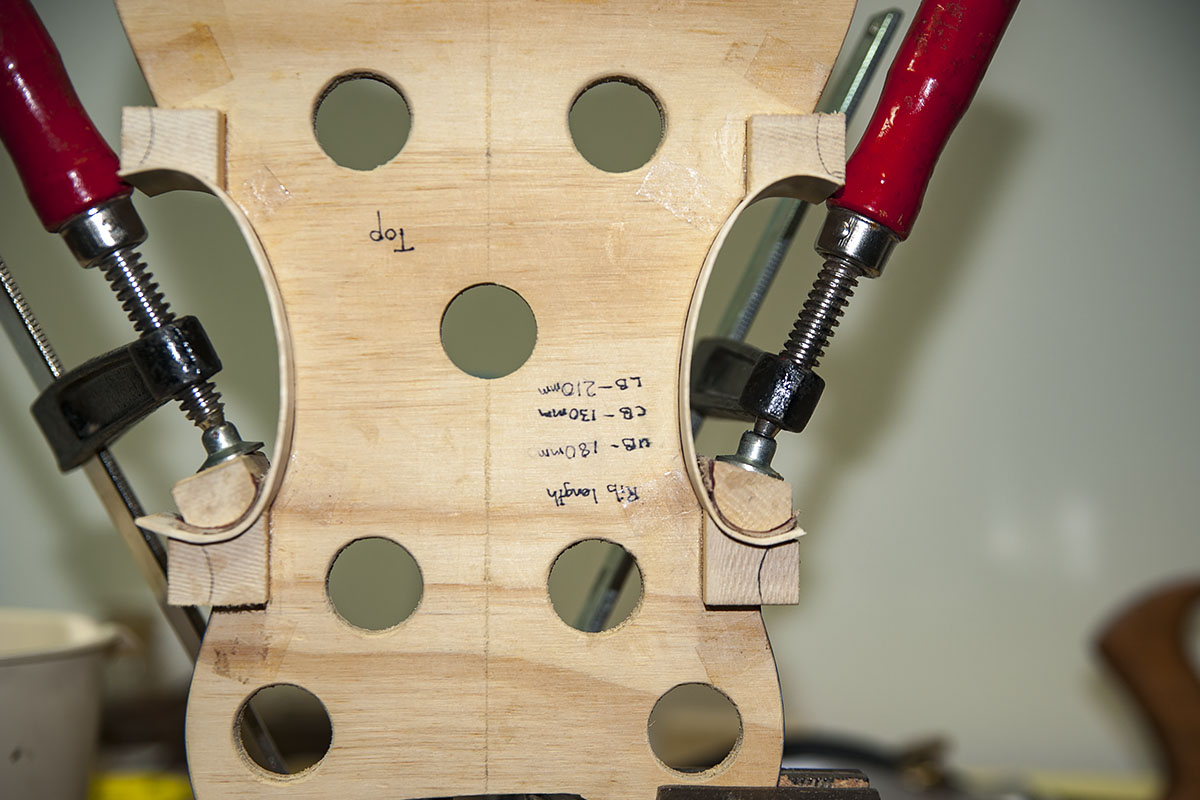
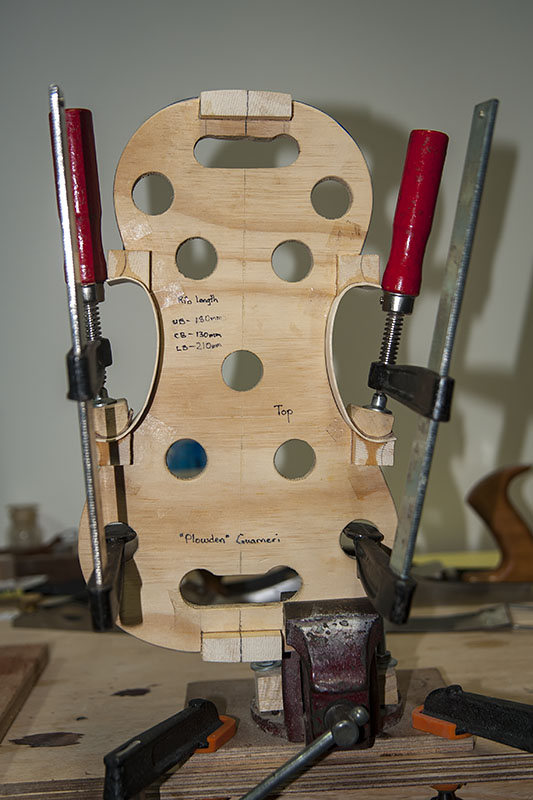
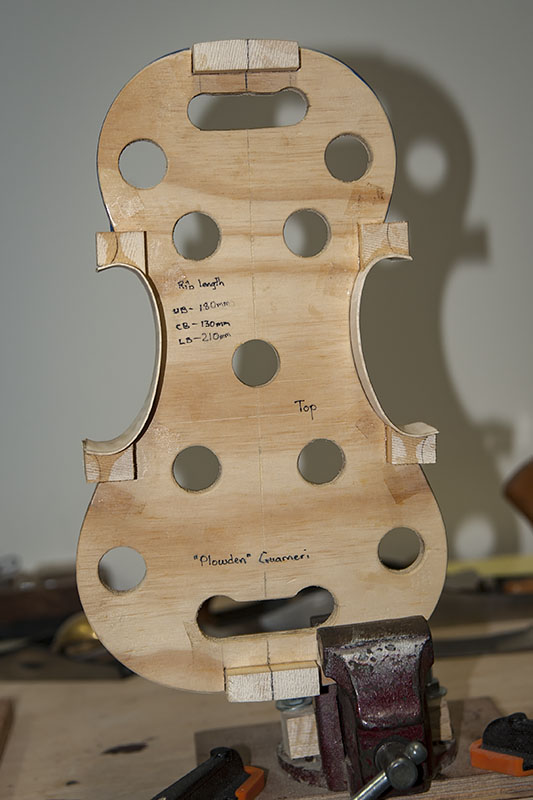
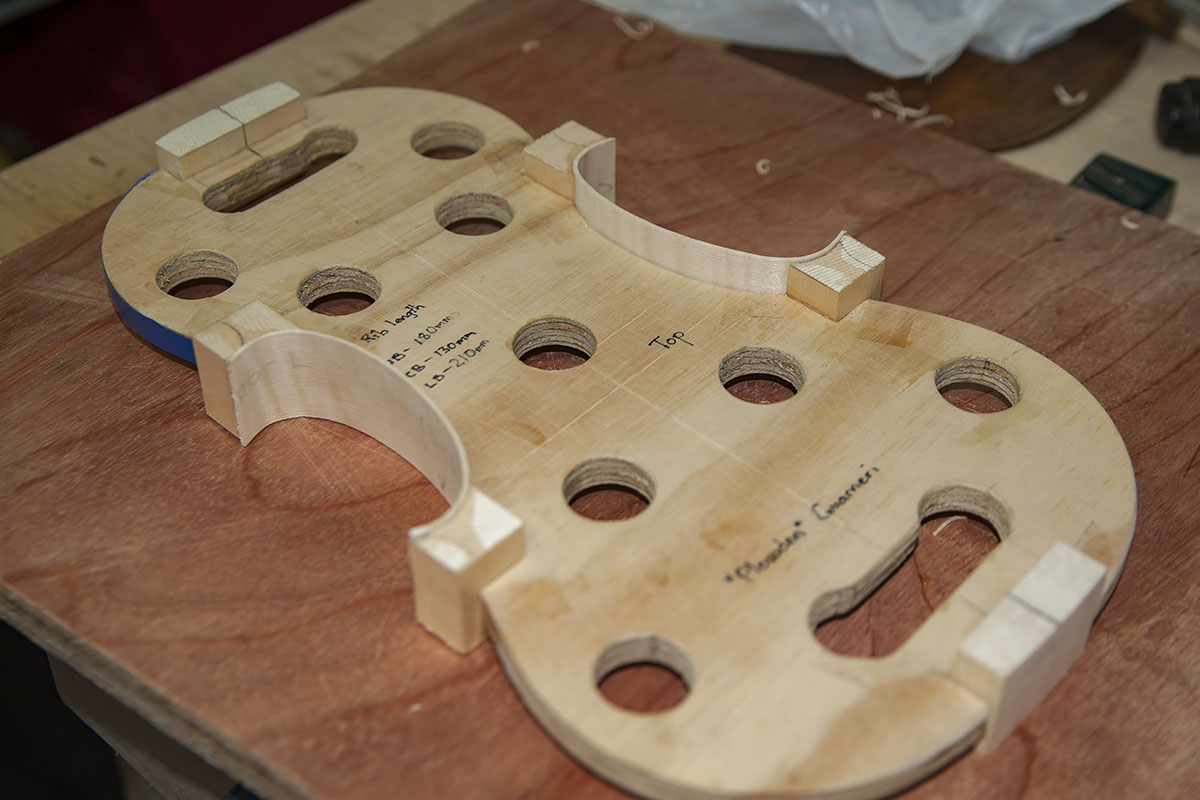
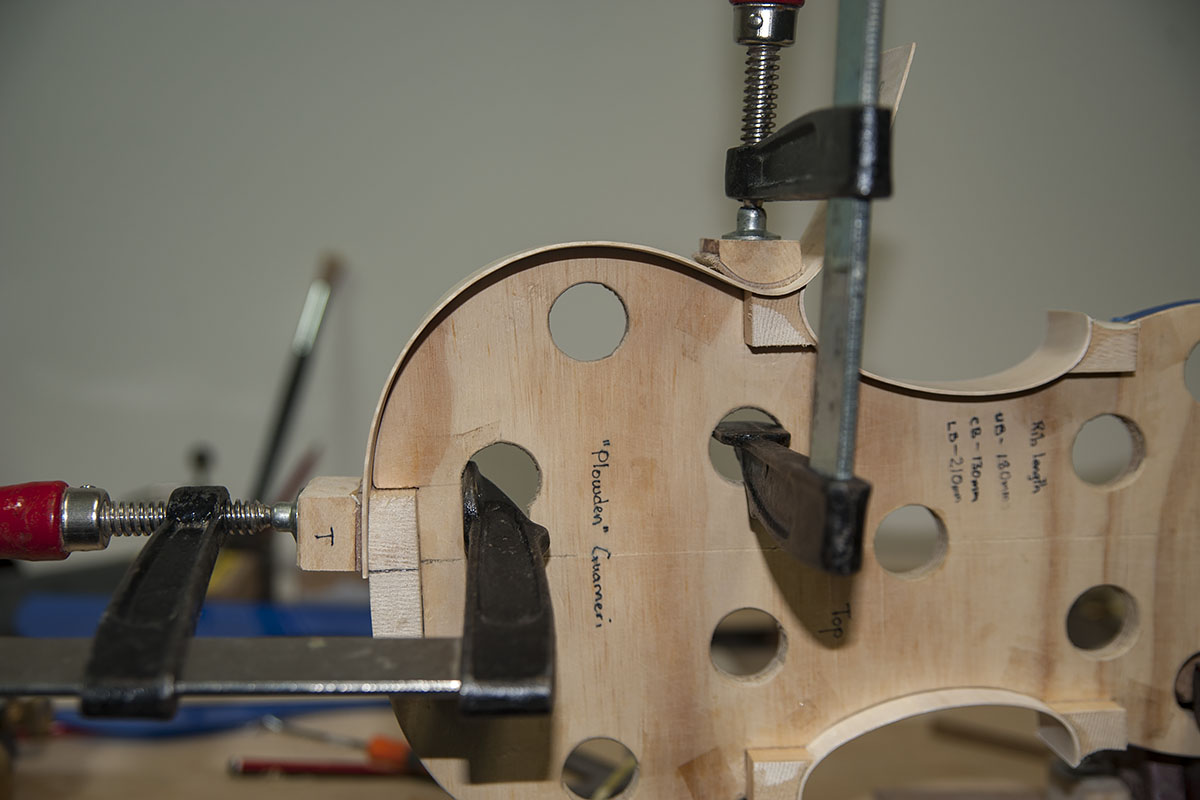
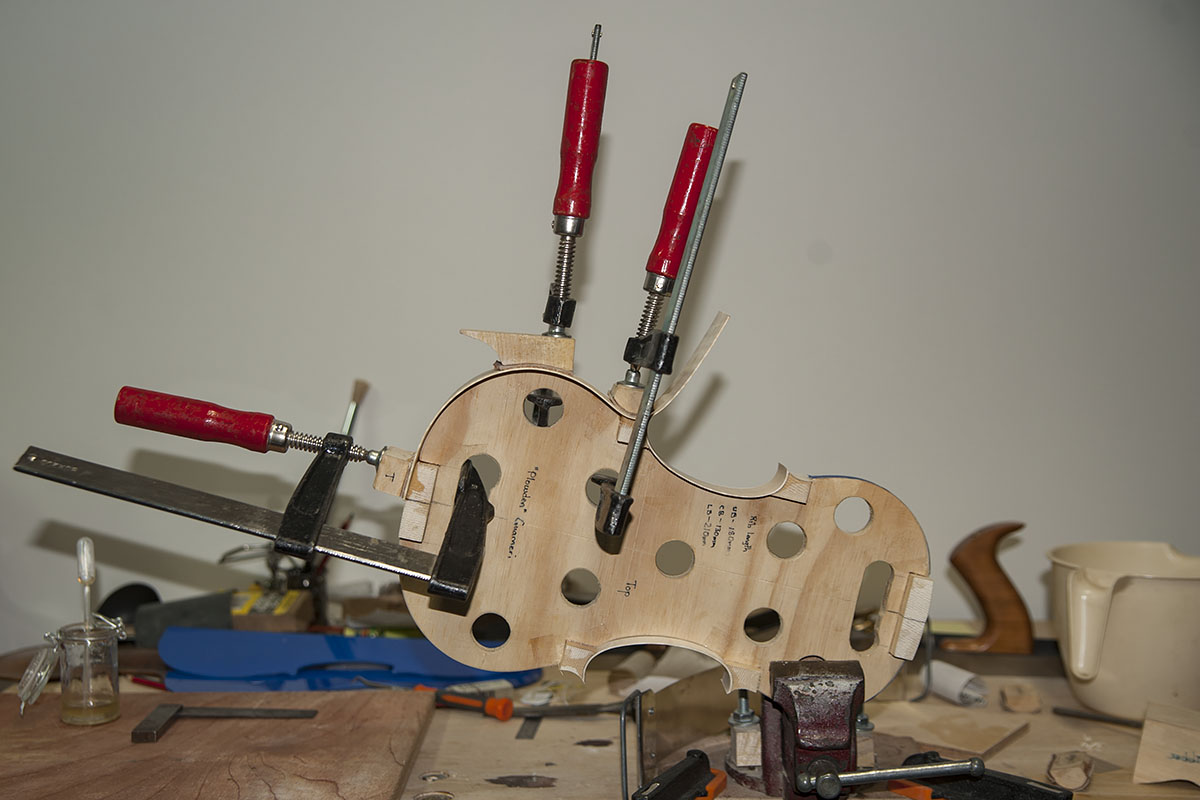
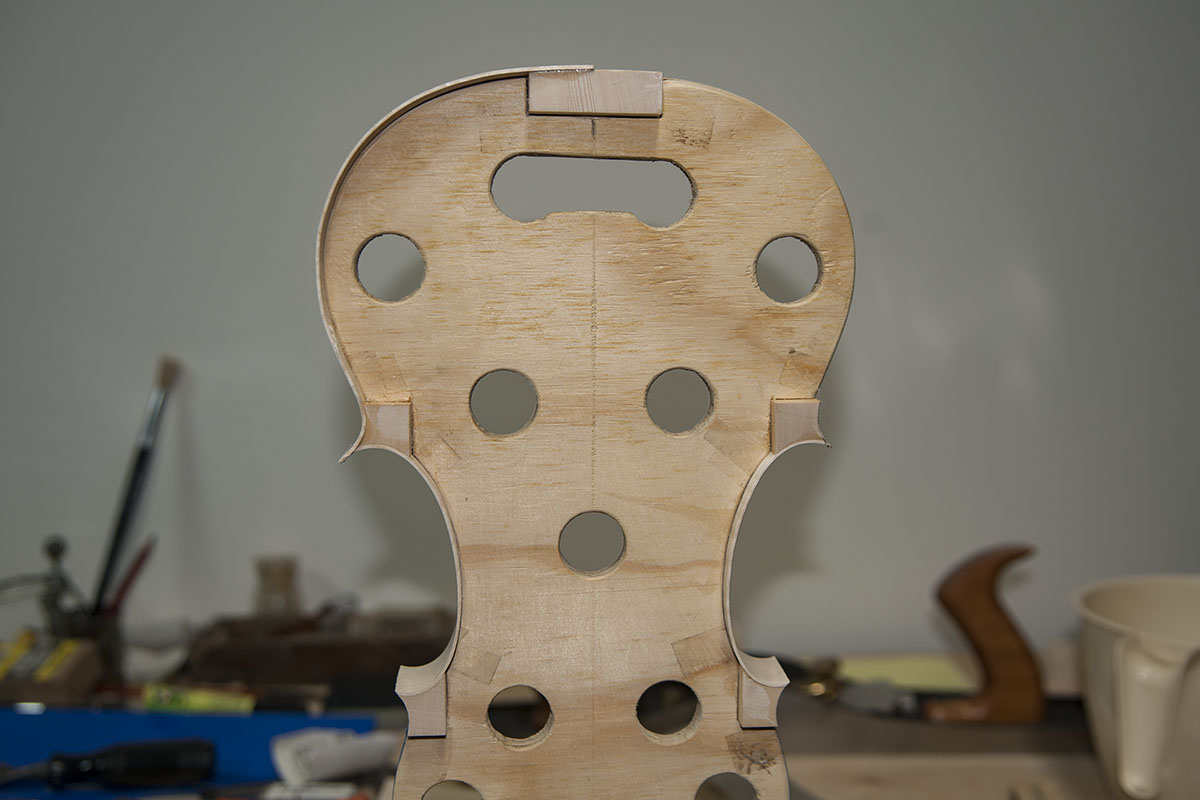
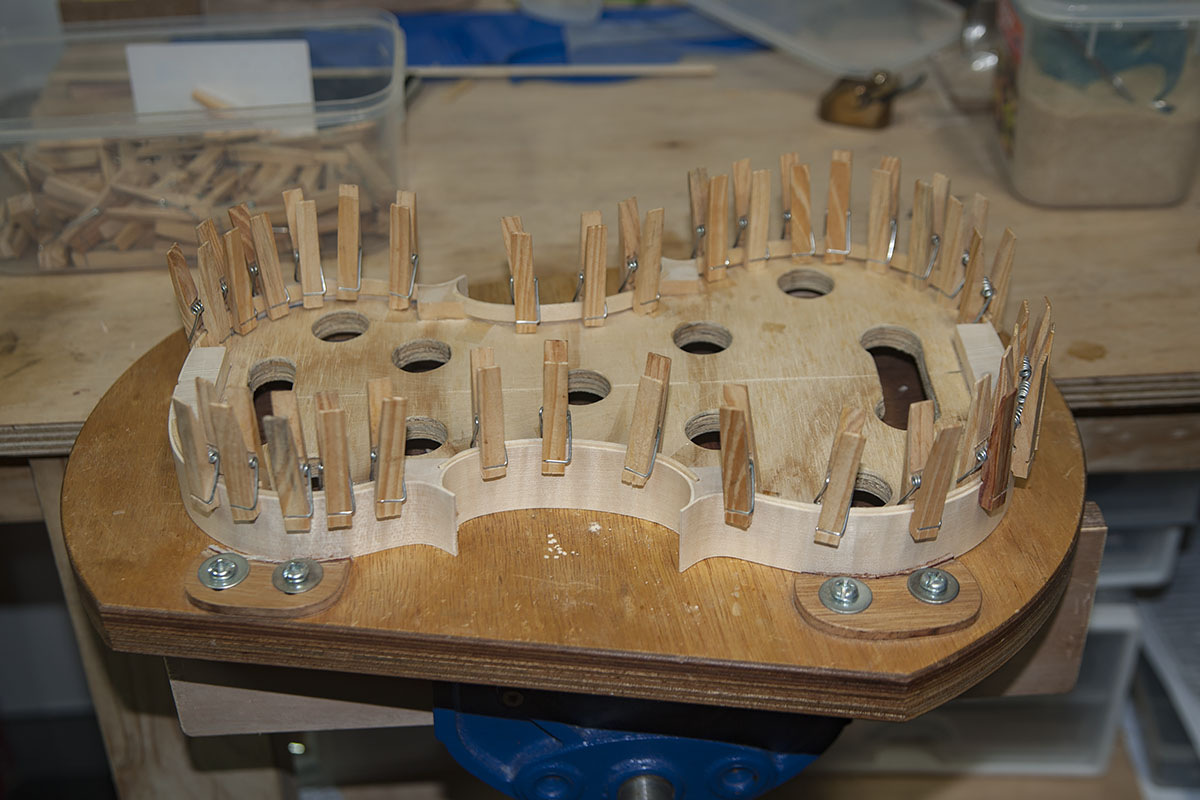
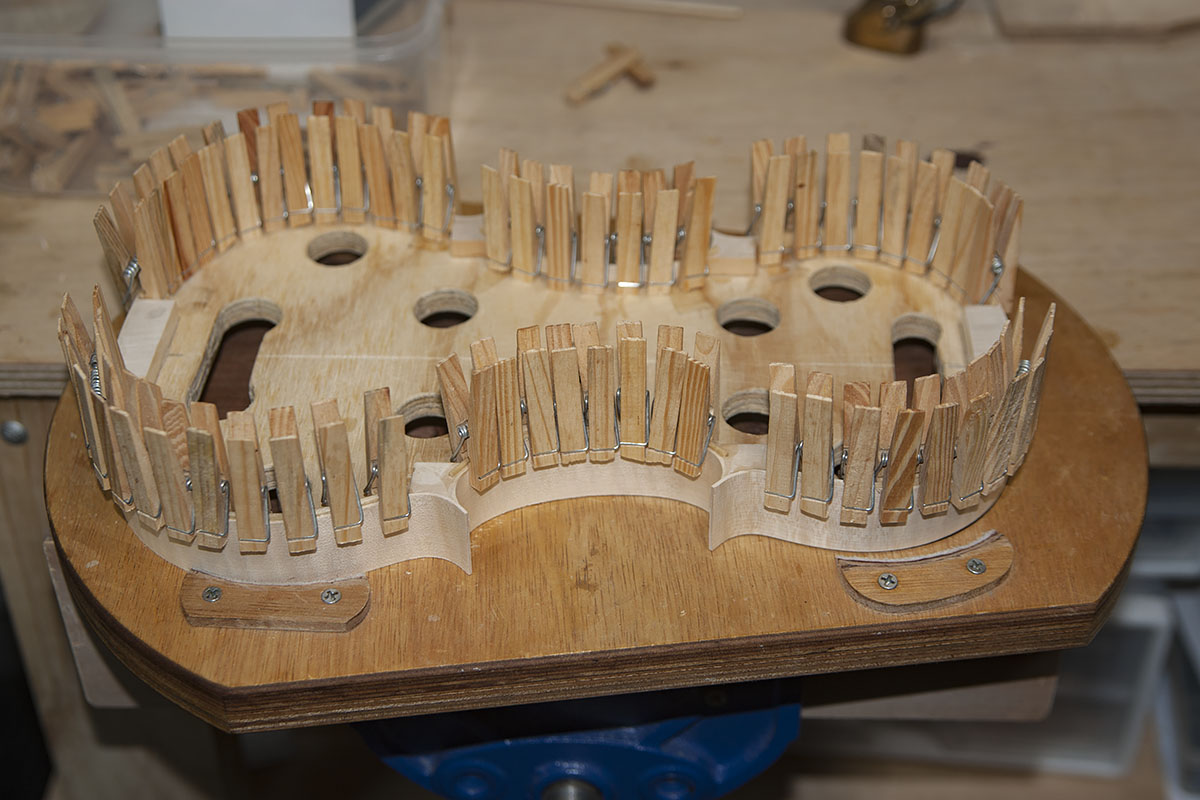
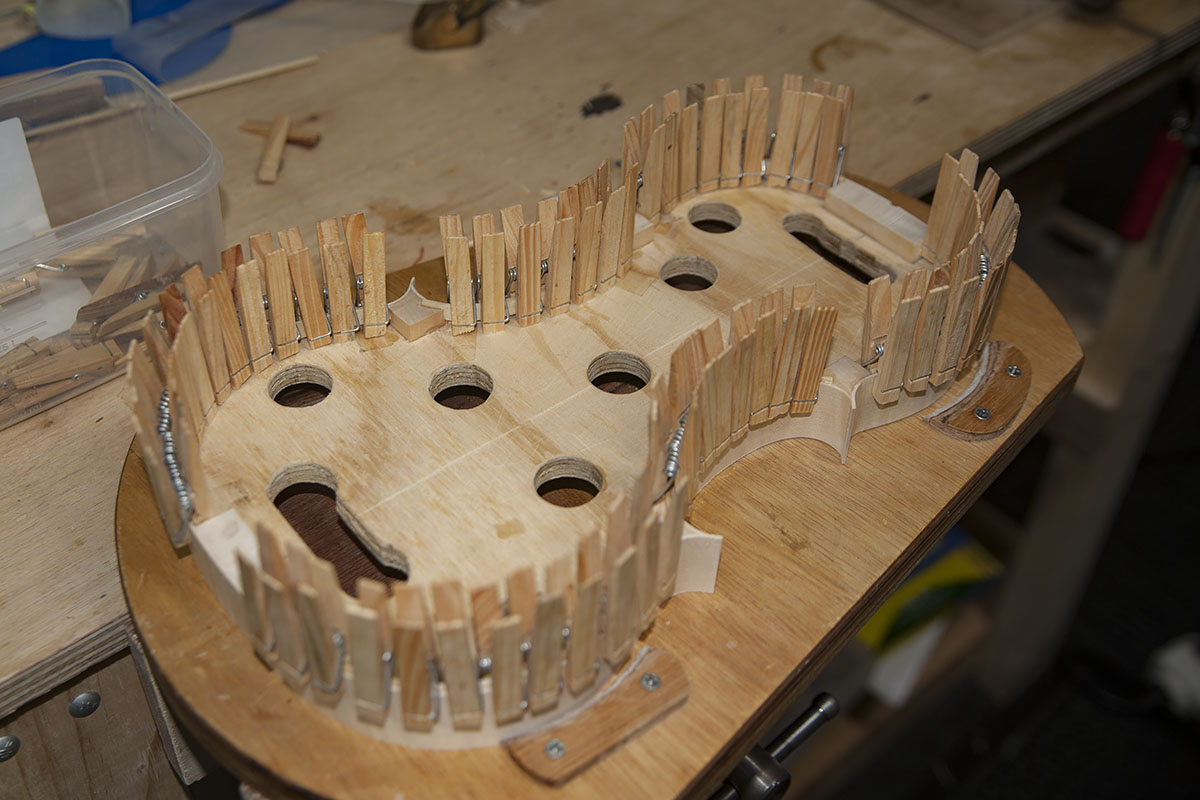
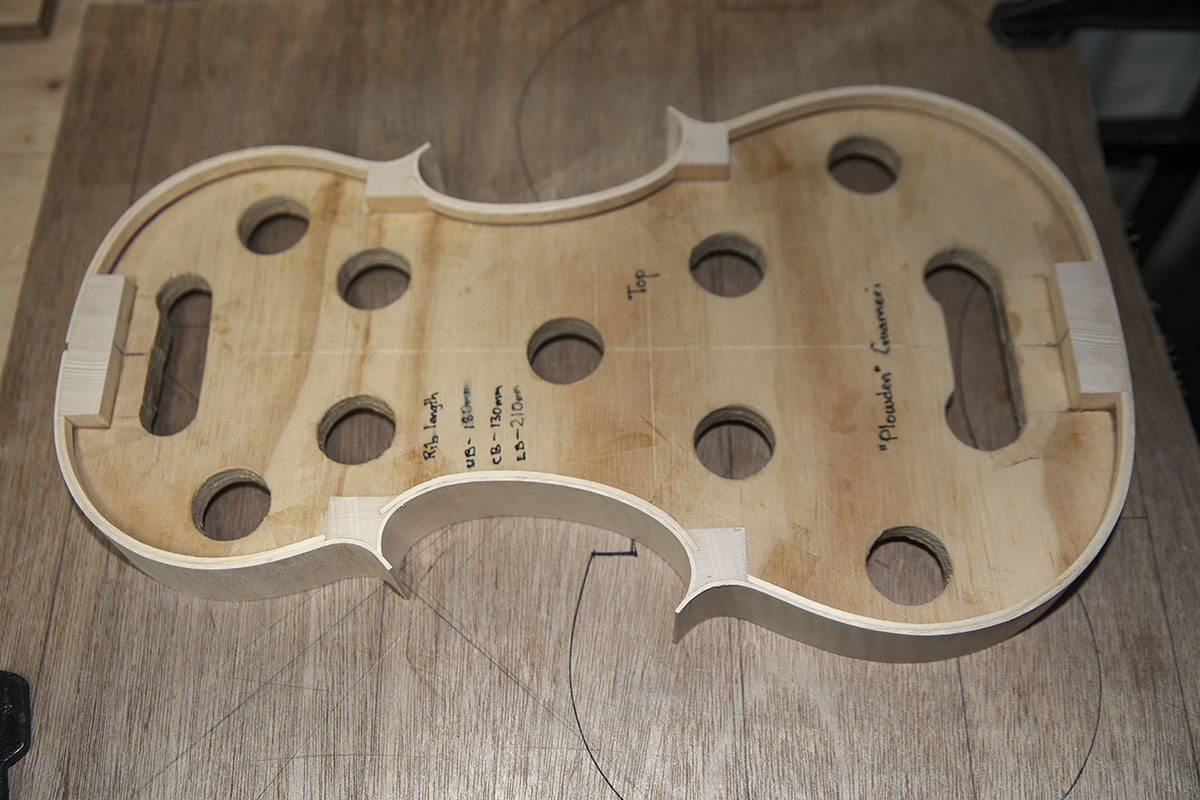
Here is the mould. It is labelled “Plowden Guarneri”, but it has been modified slightly, so take no notice if that. 🙂


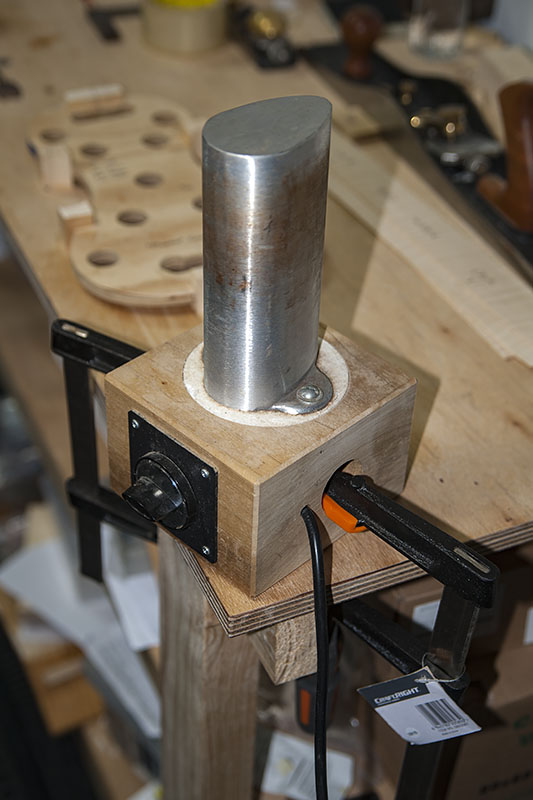
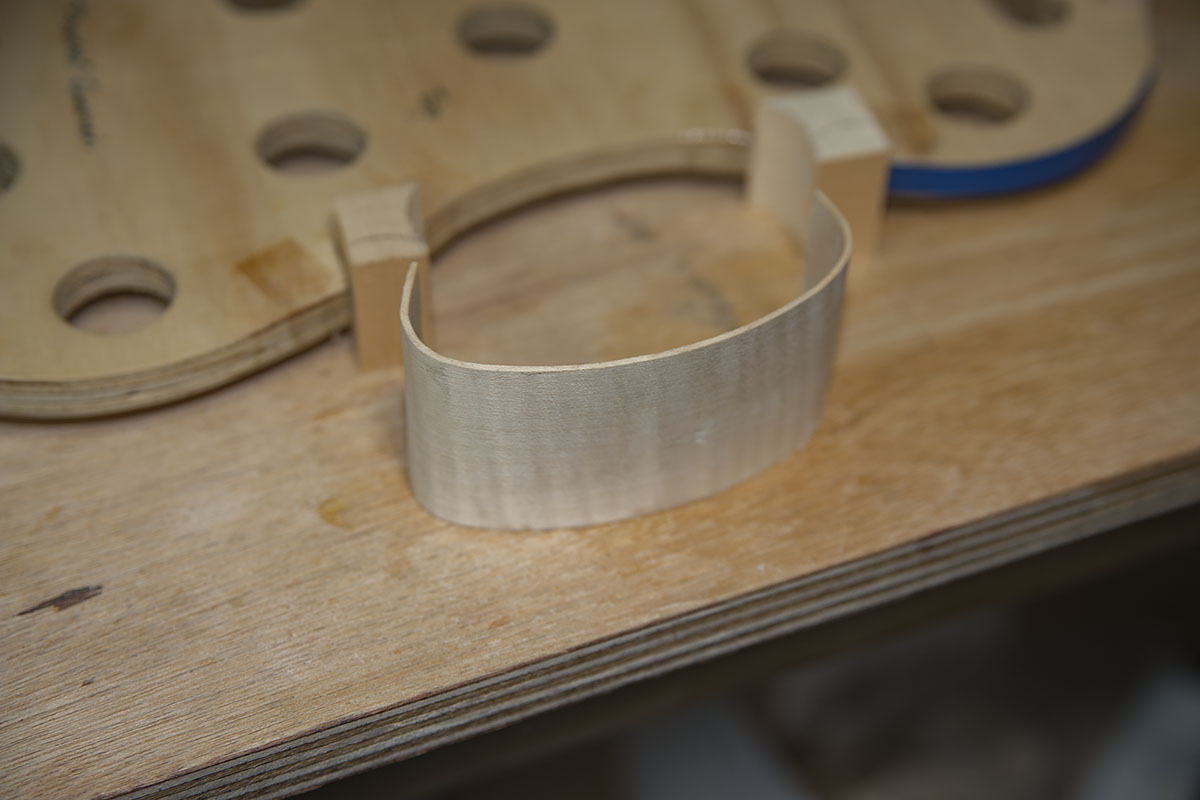
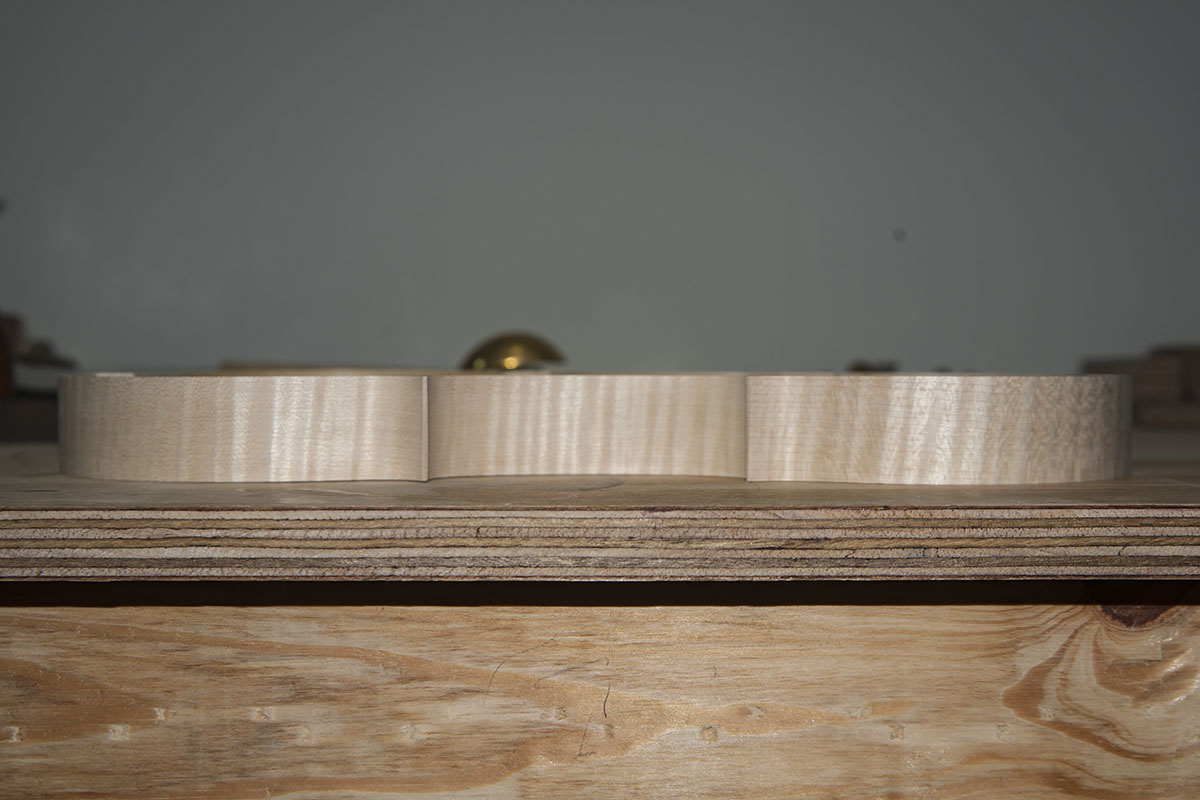
Below: This is the bending iron I use. When the bending iron is (extremely) hot, the rib can be bent to a curve.
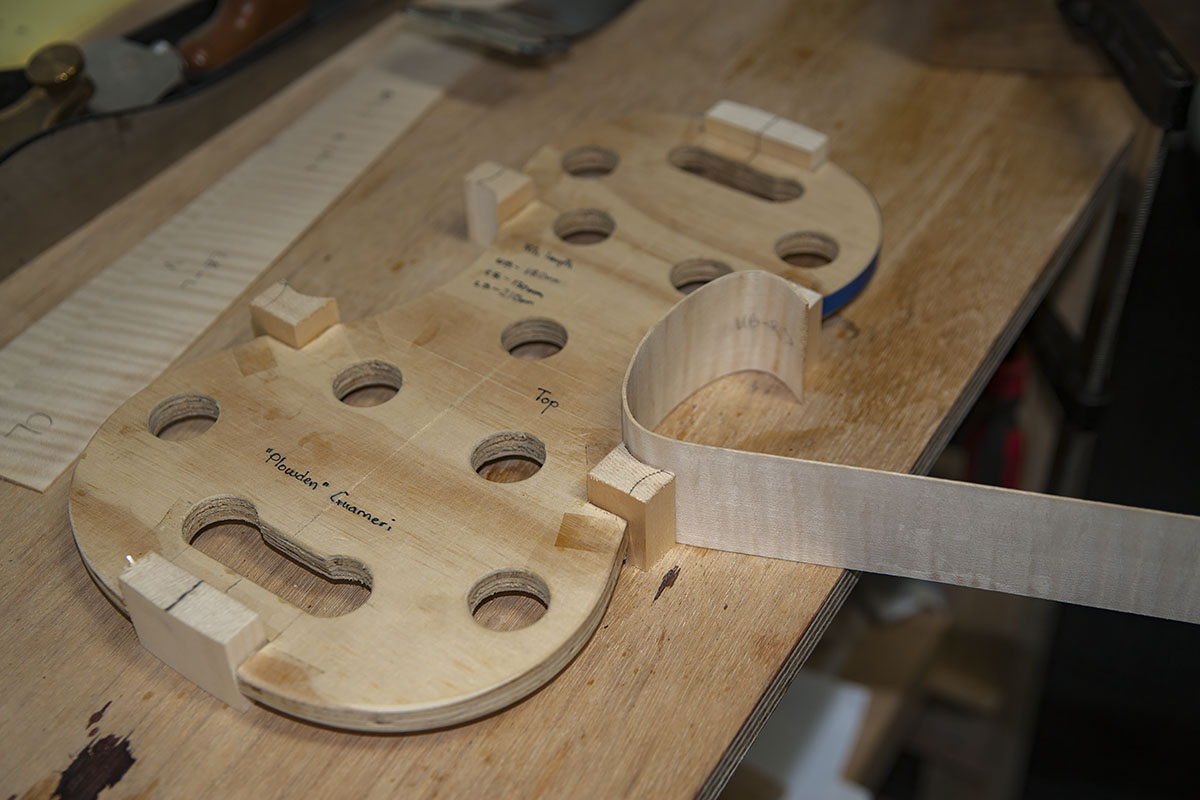
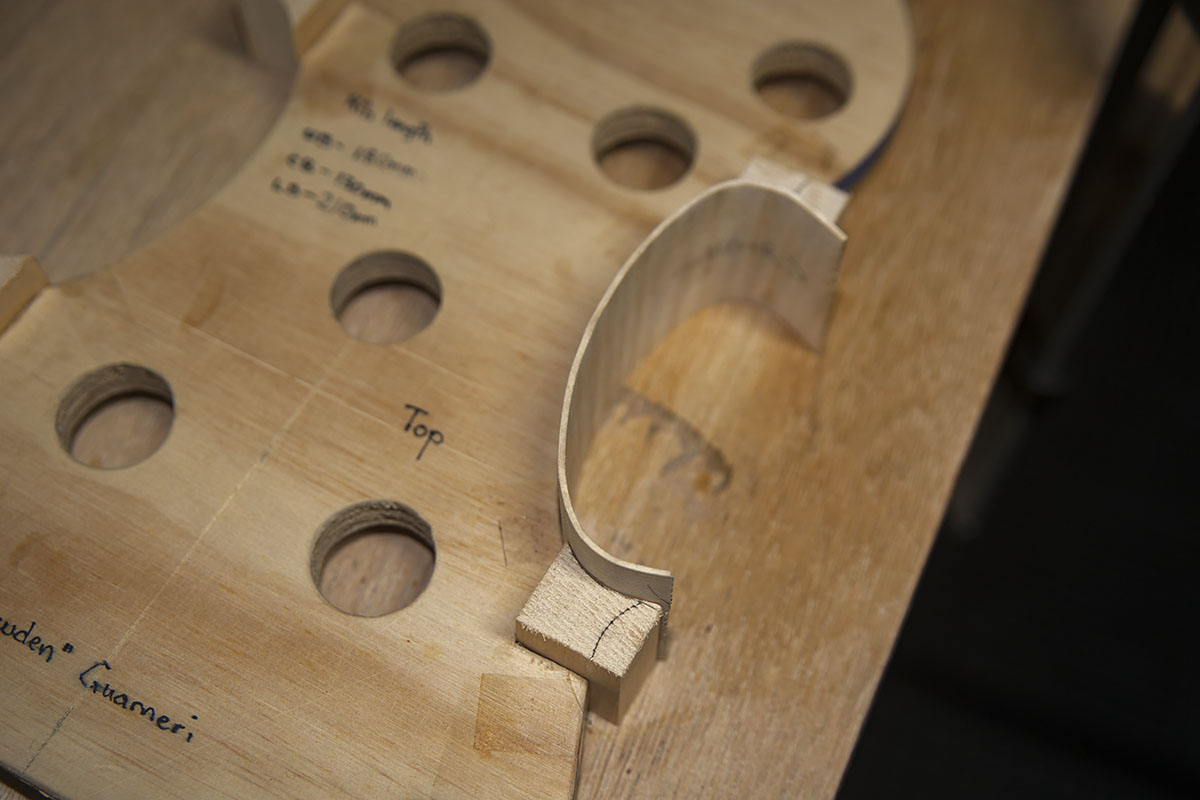

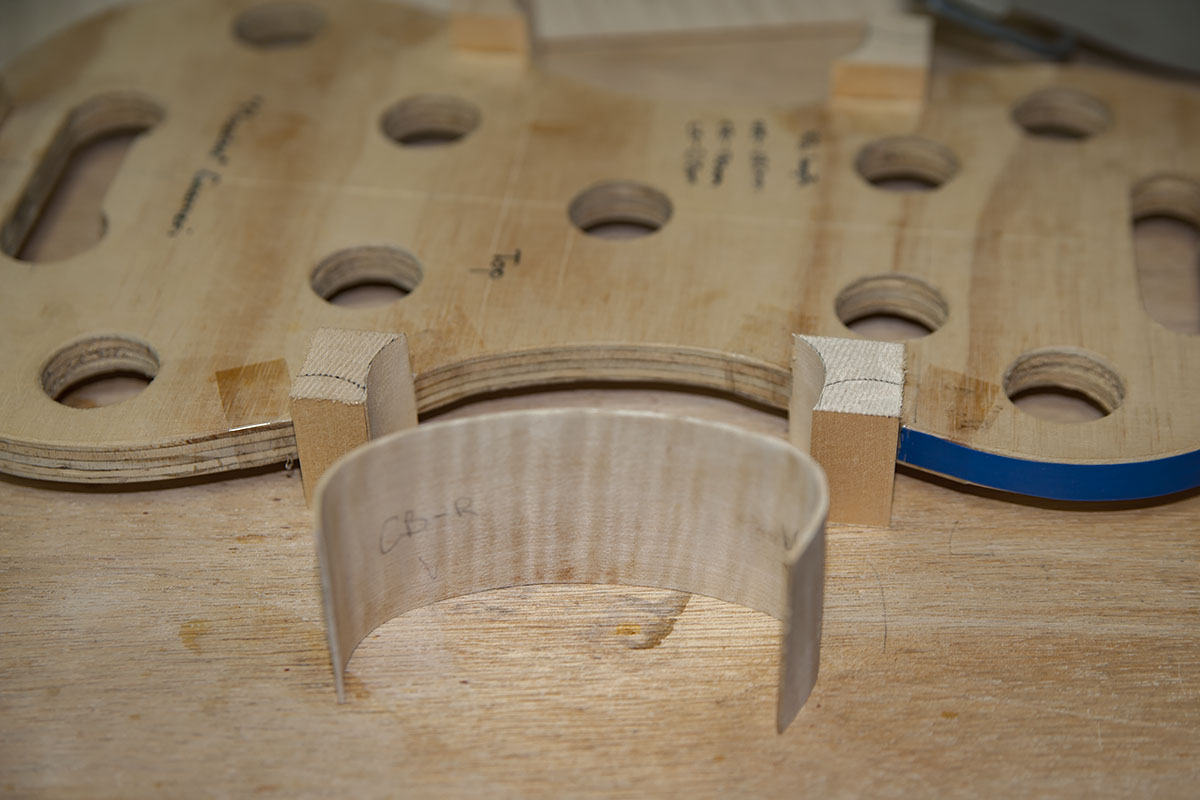
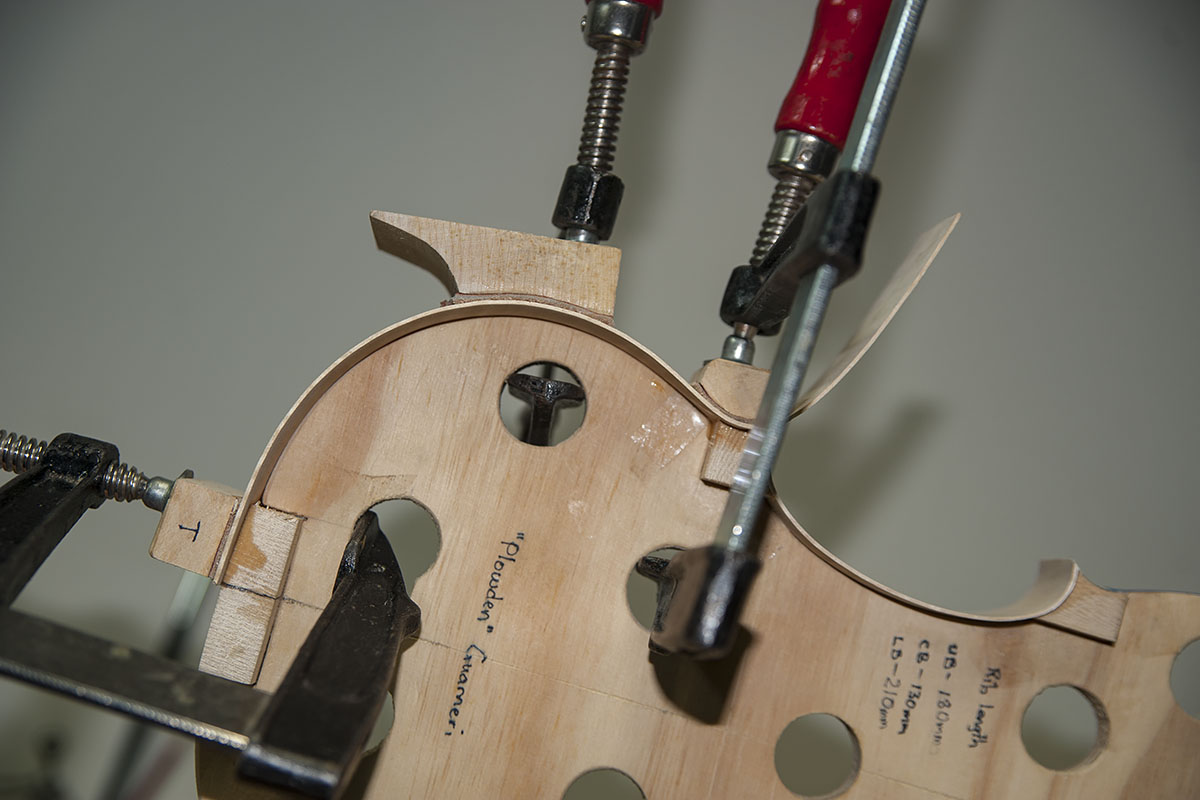
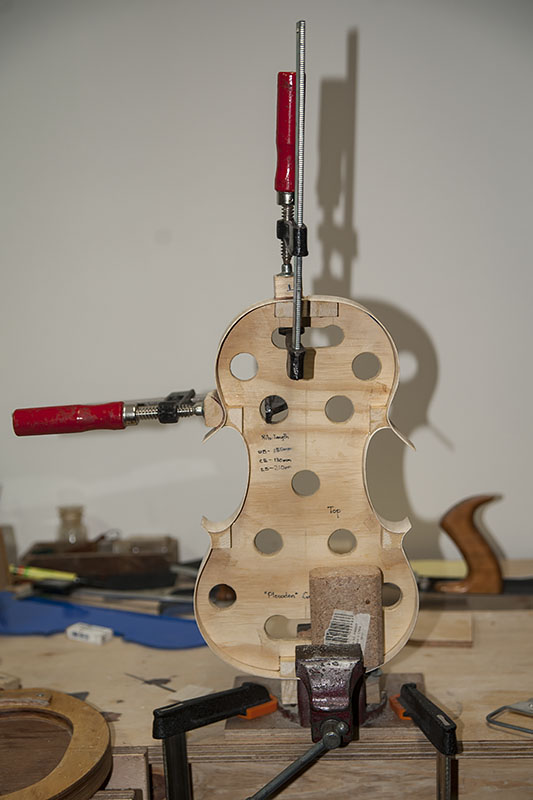
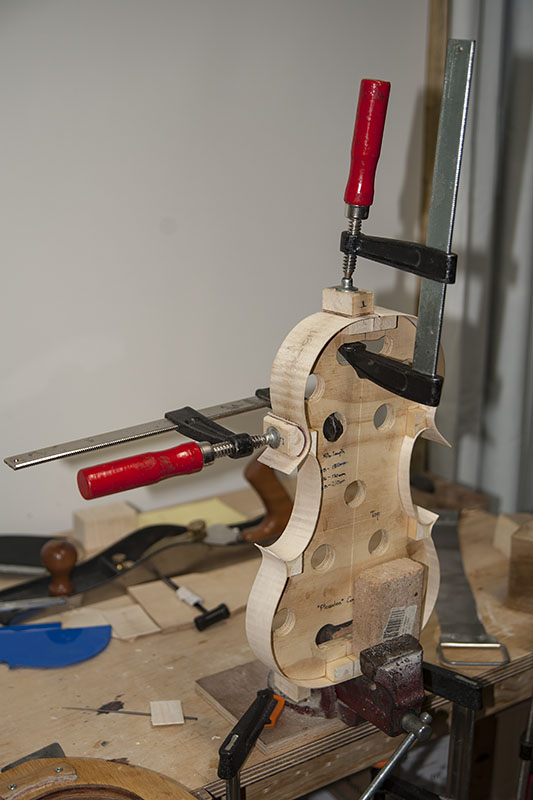
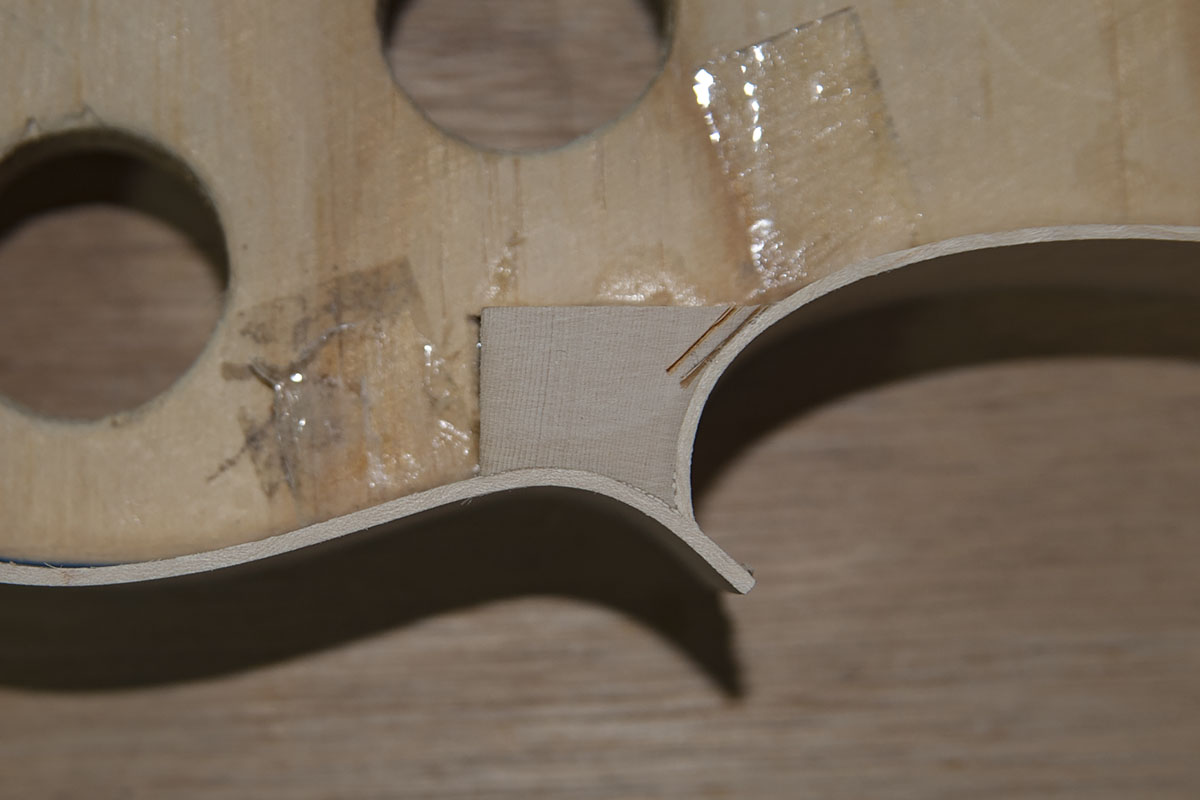
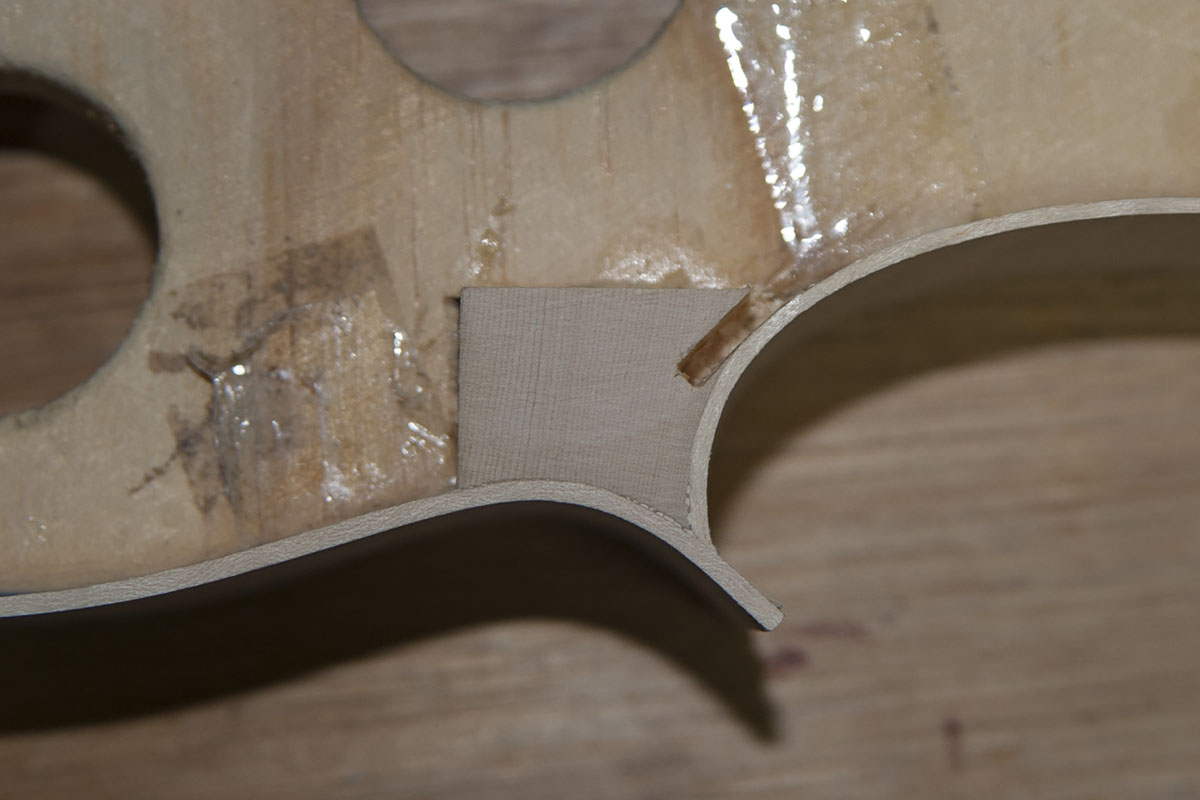
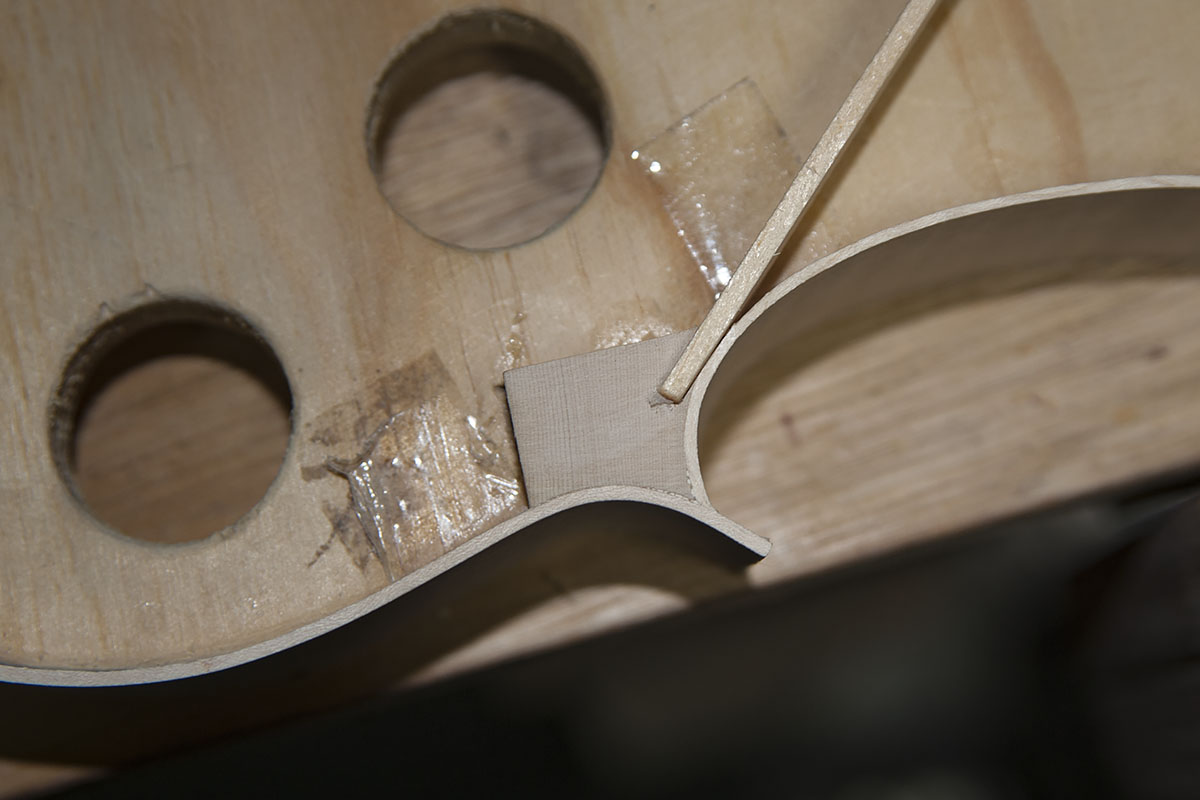
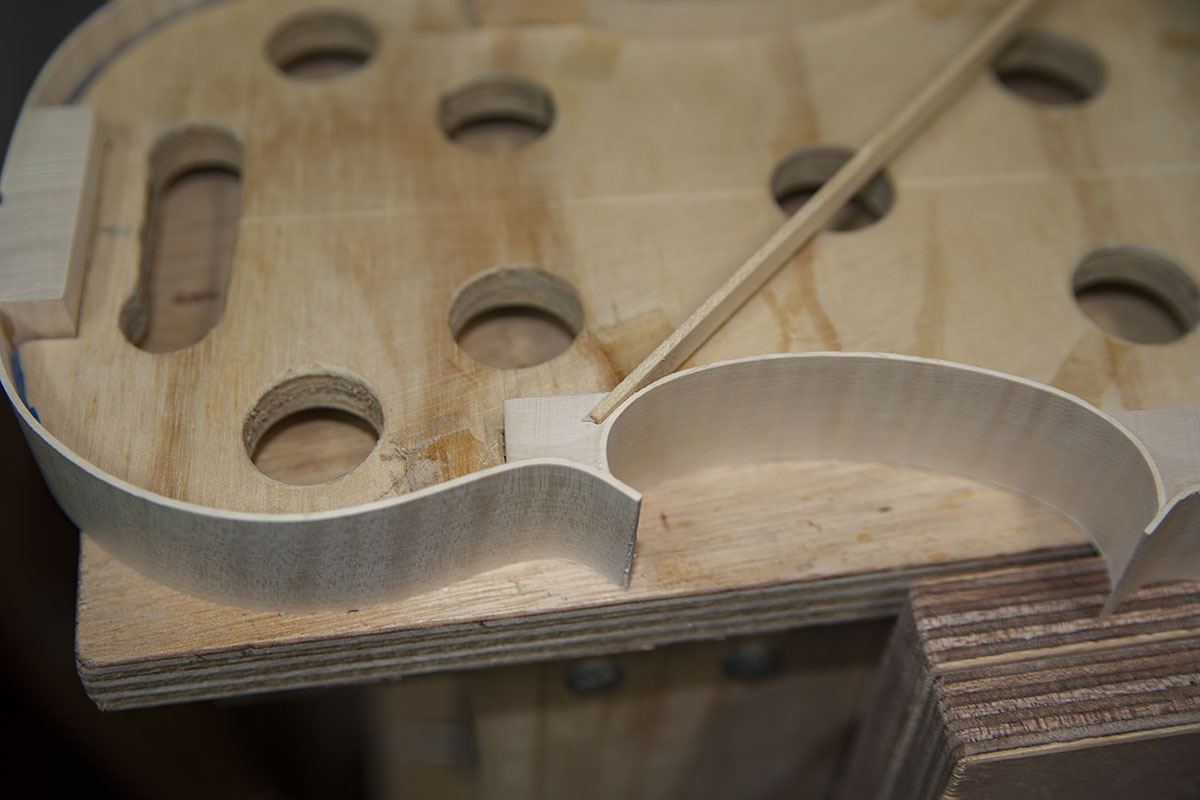
I keep saying I’ll buy smaller clamps for gluing the ribs to the blocks, then forget until I need to glue the ribs to the blocks next time.
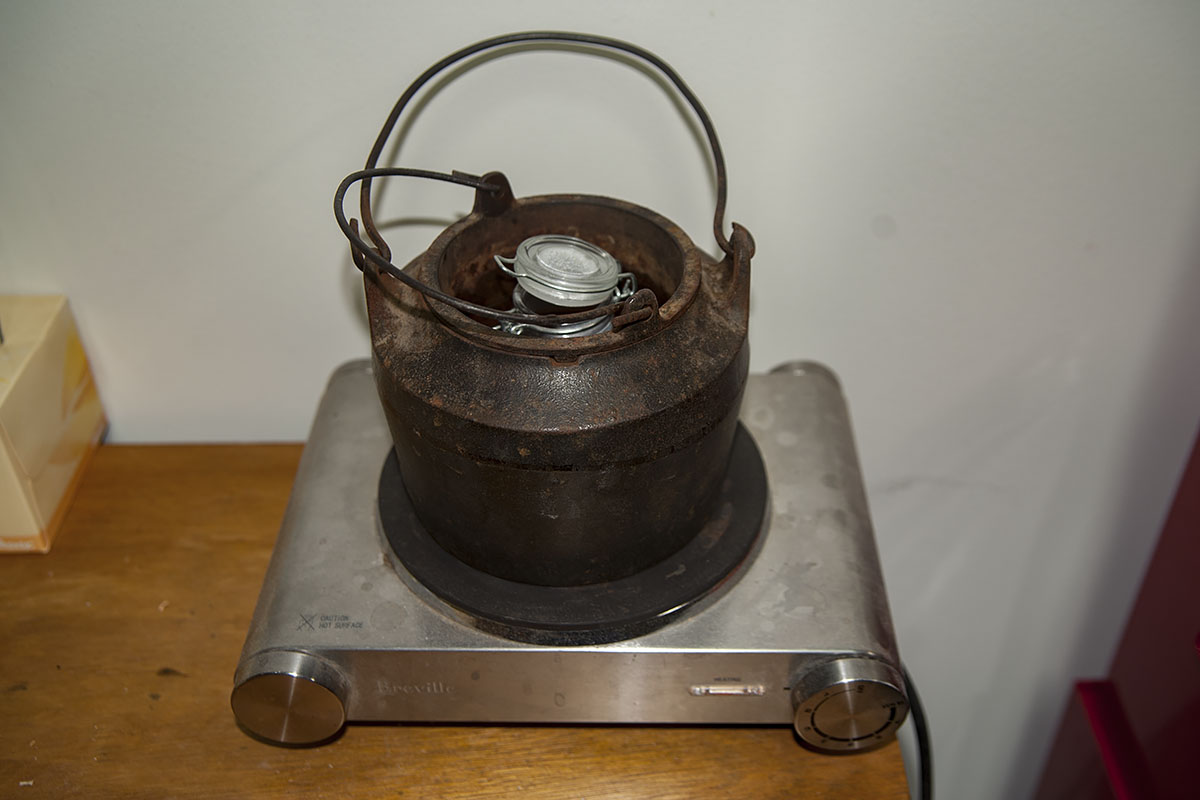
My antique glue pot. With my small jar of glue, I guess it ends up being triple boiler.
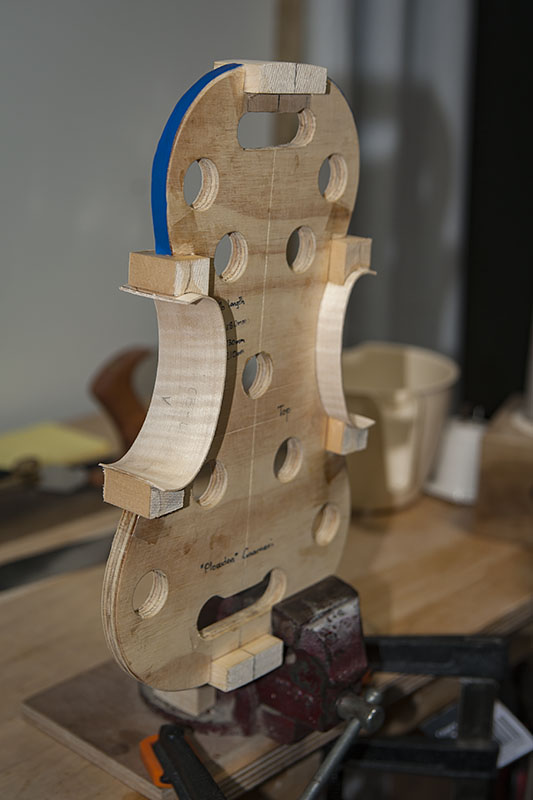

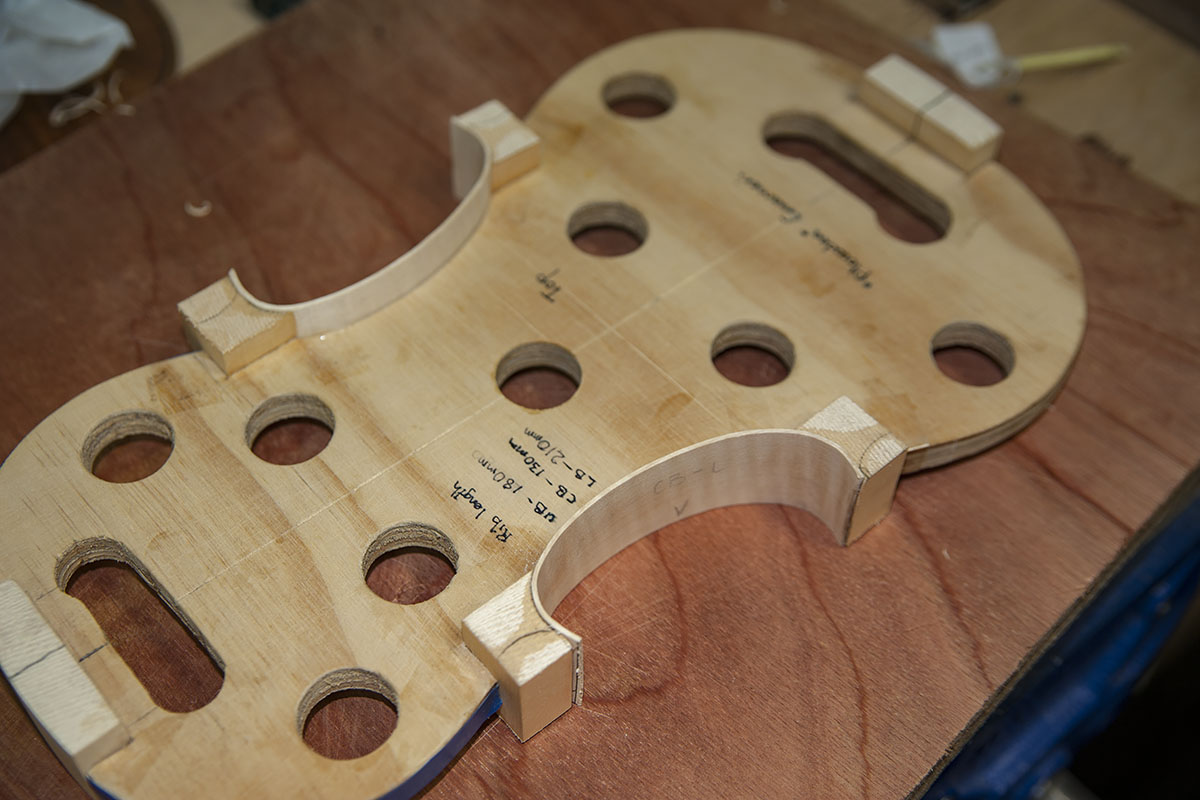
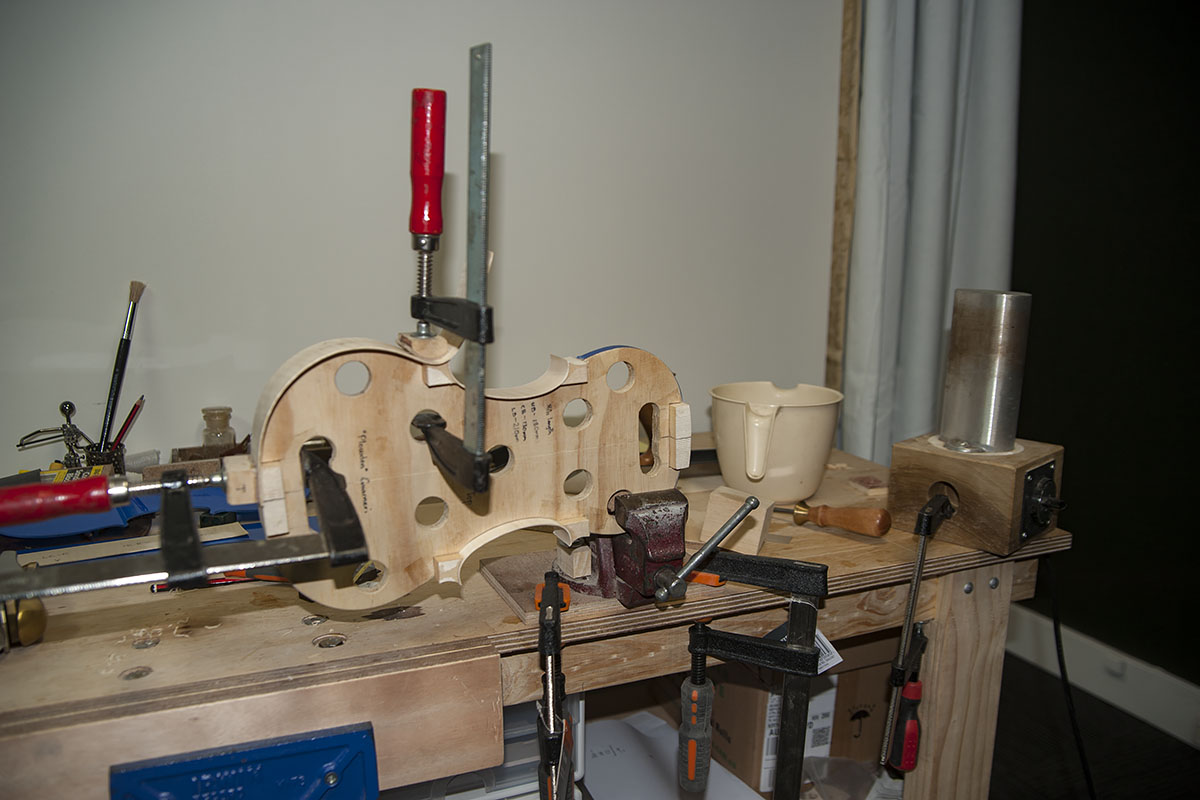
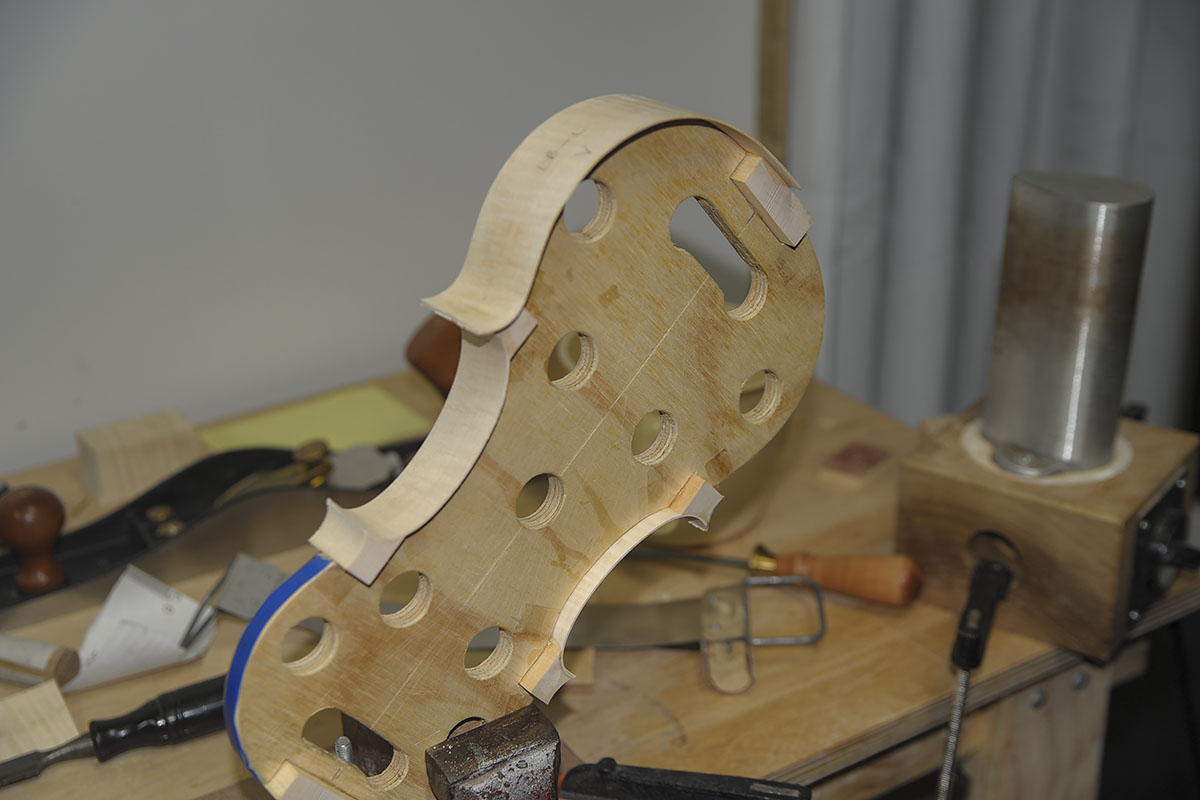

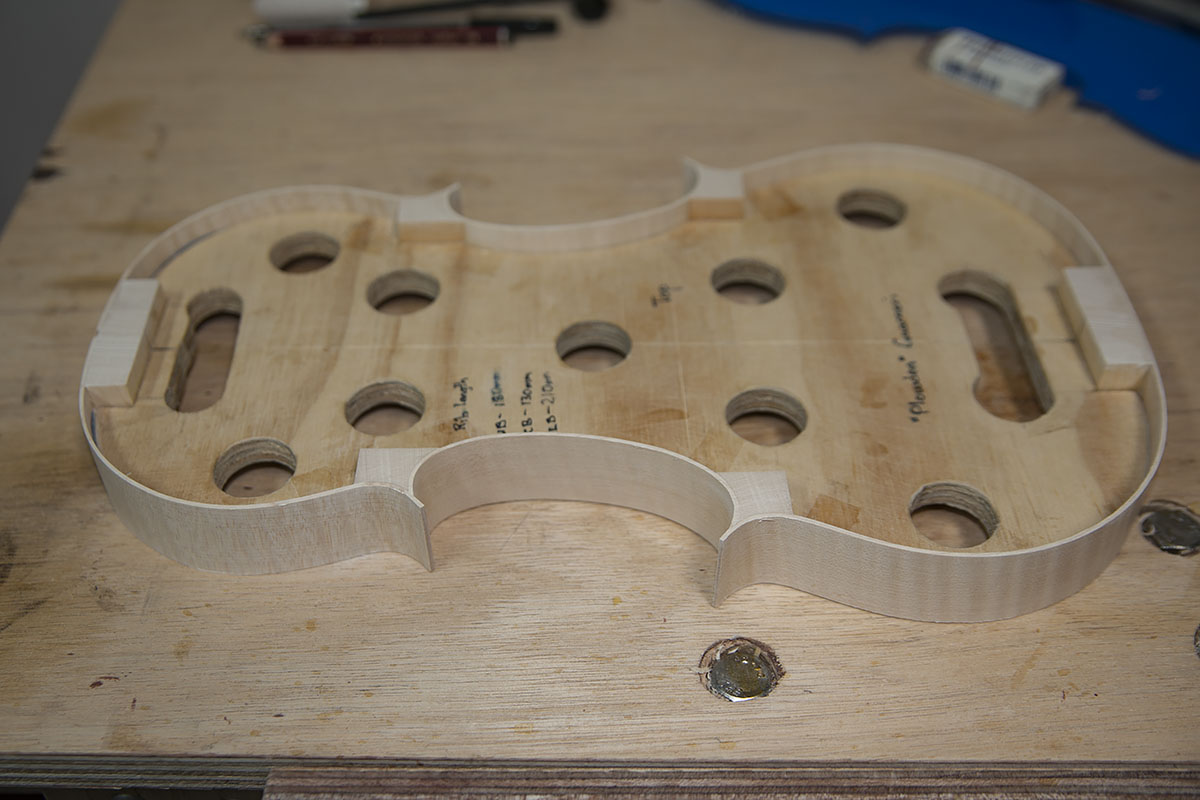
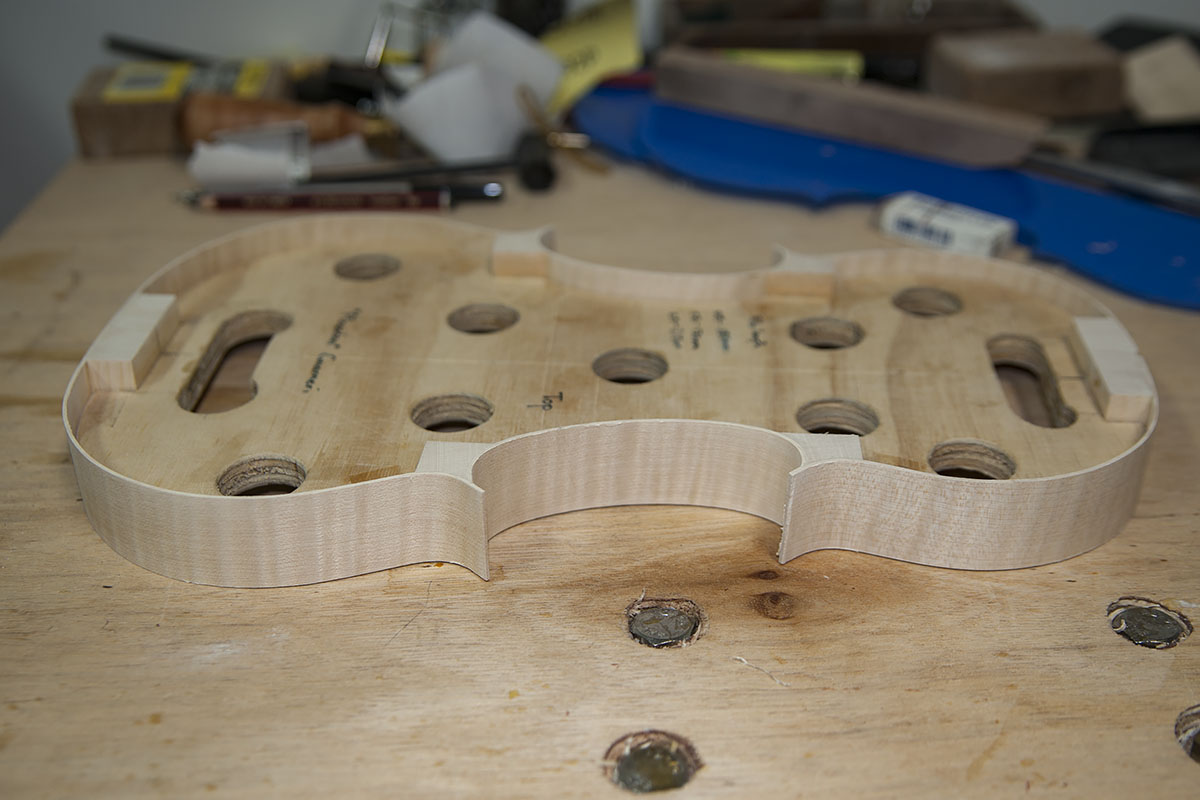
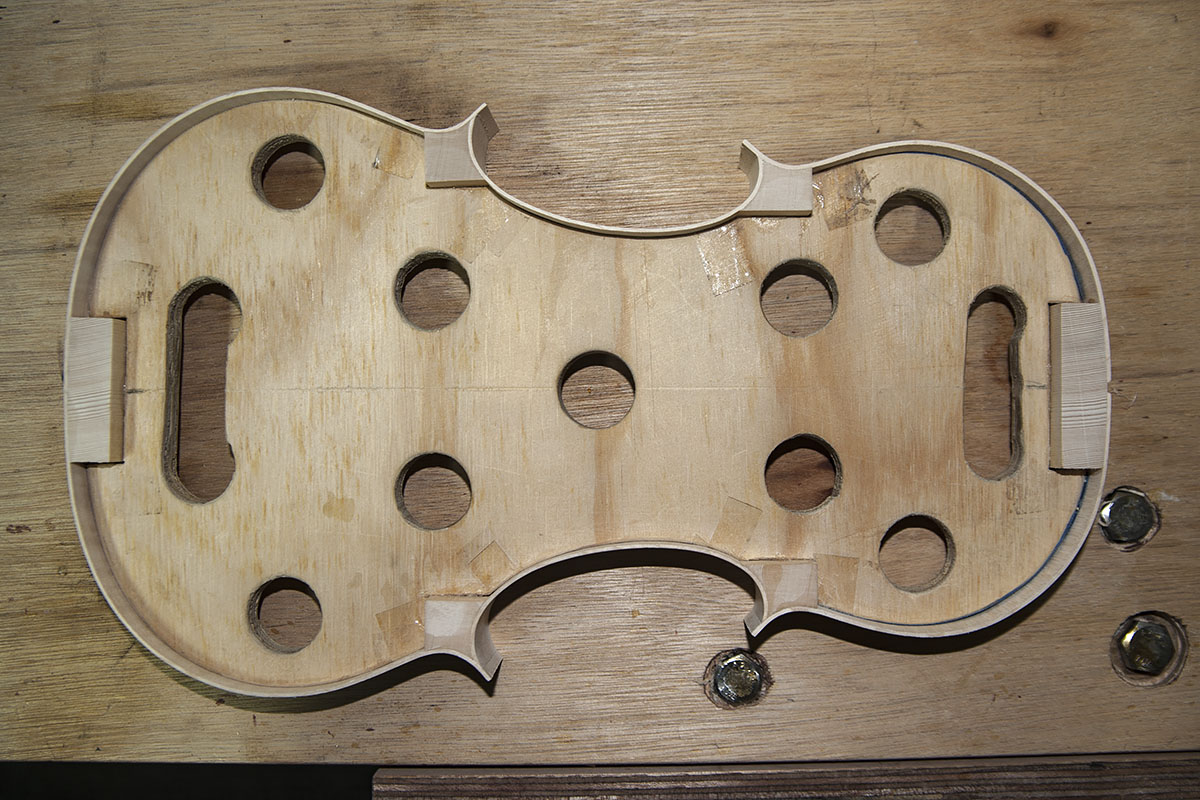


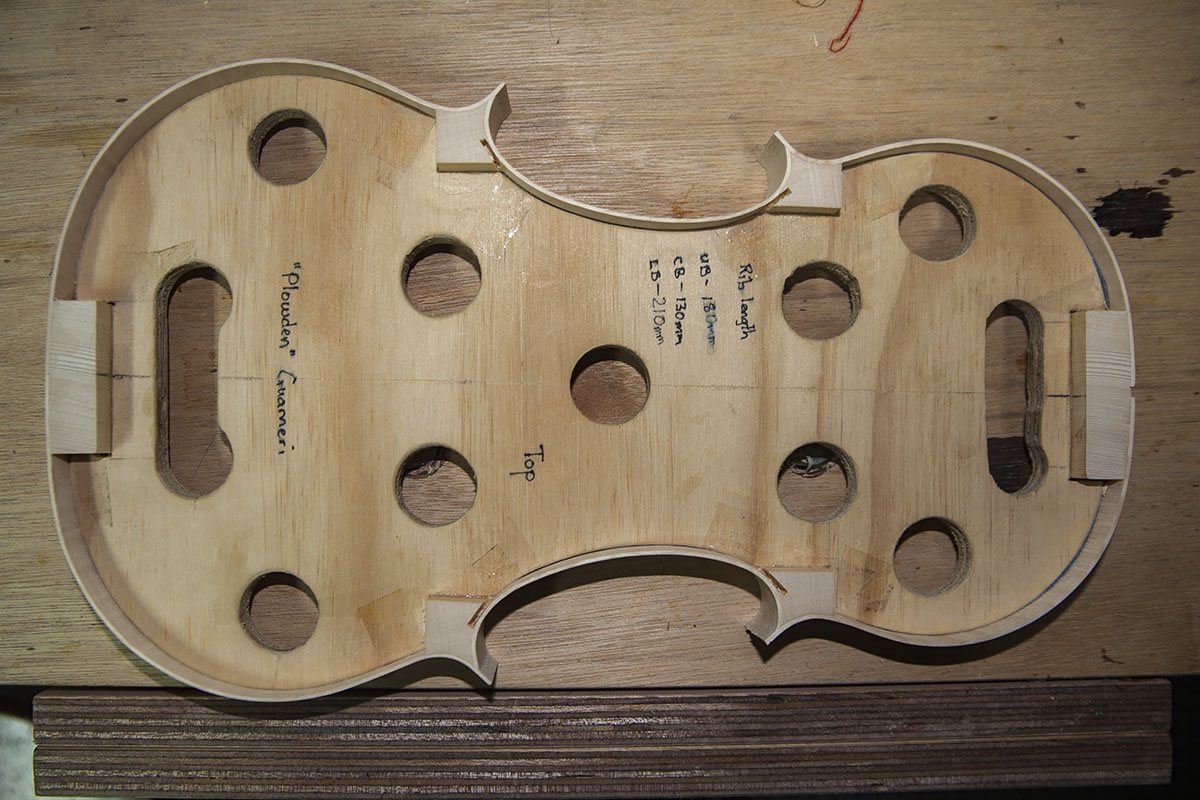
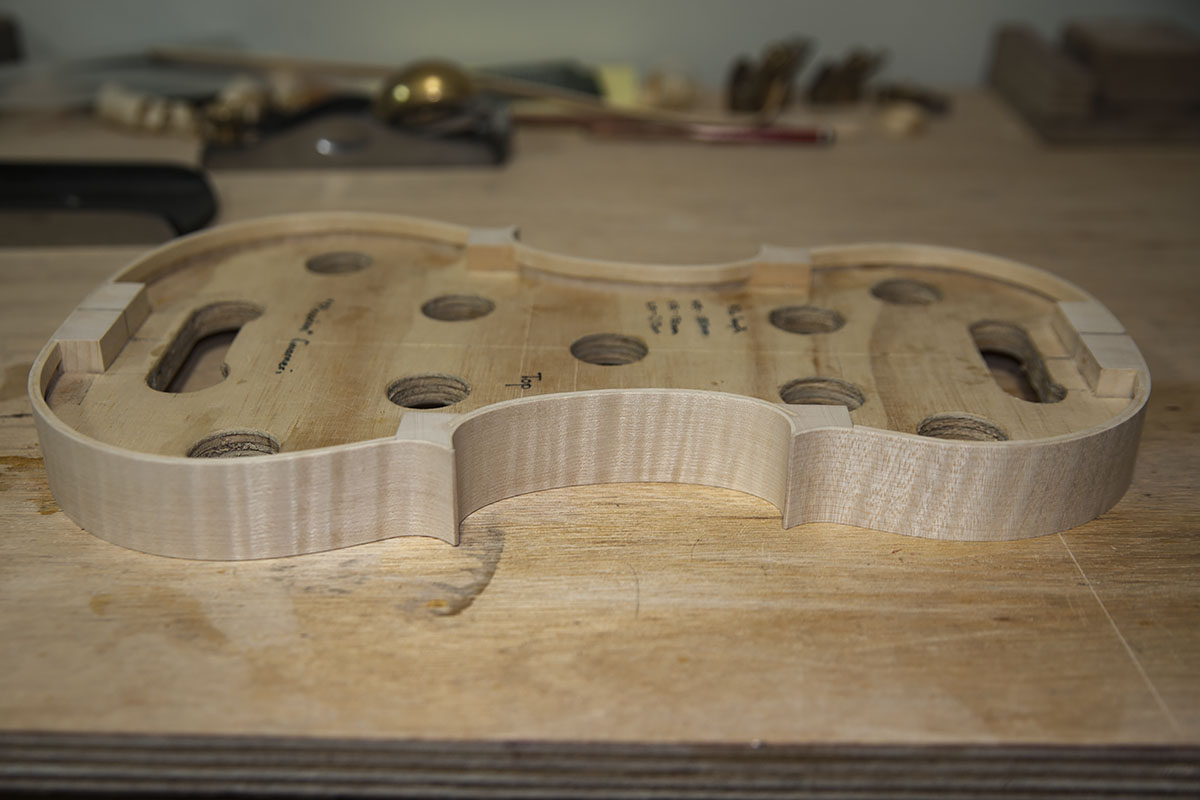

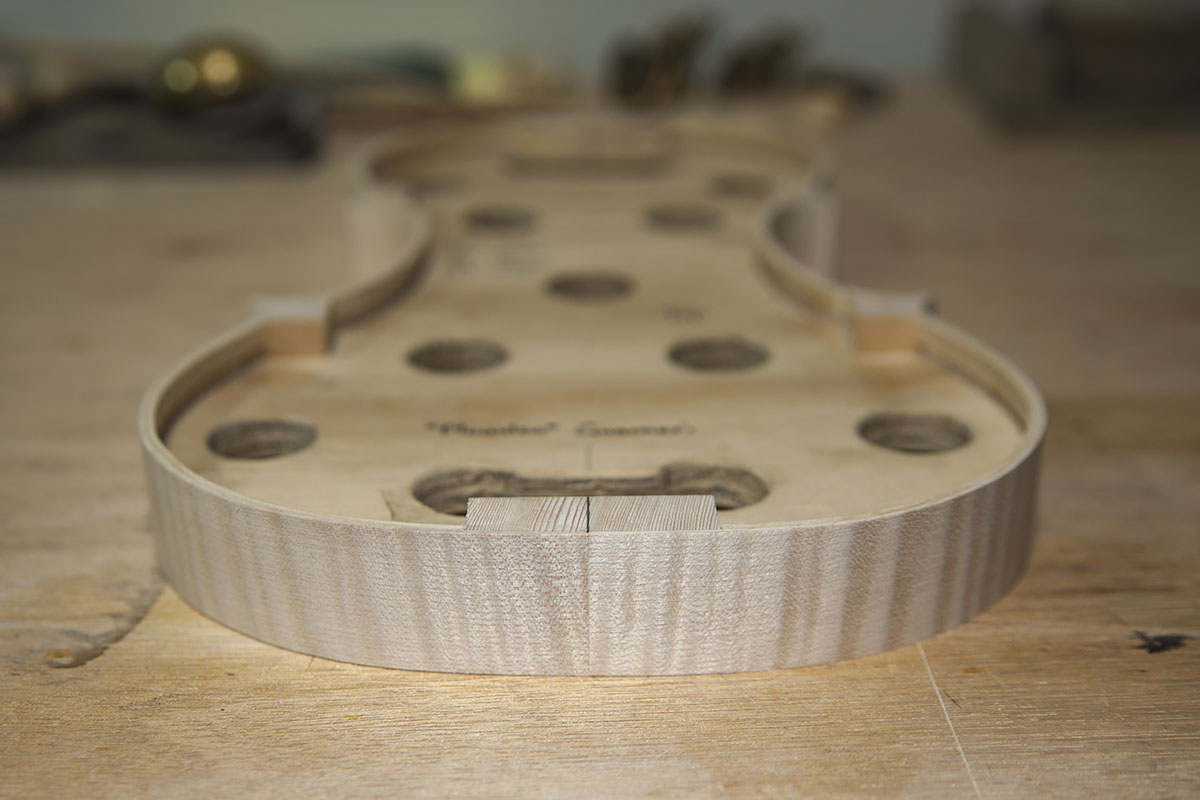
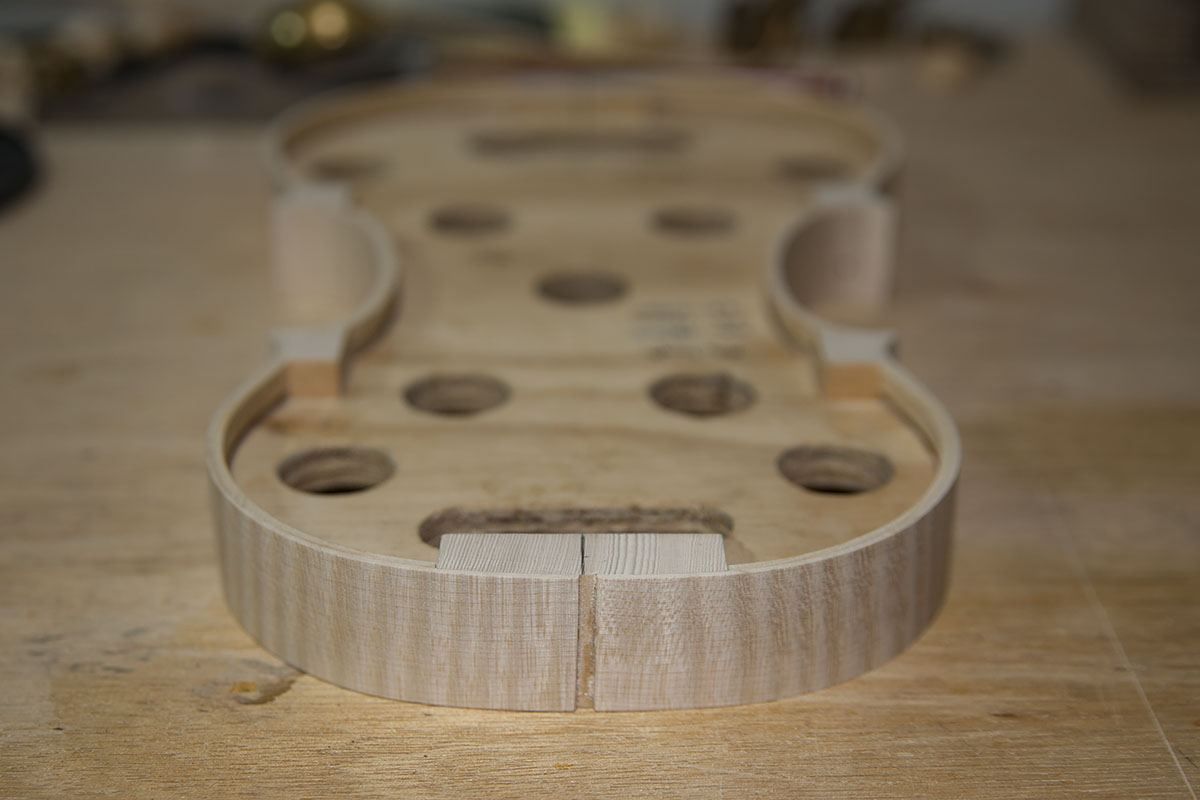
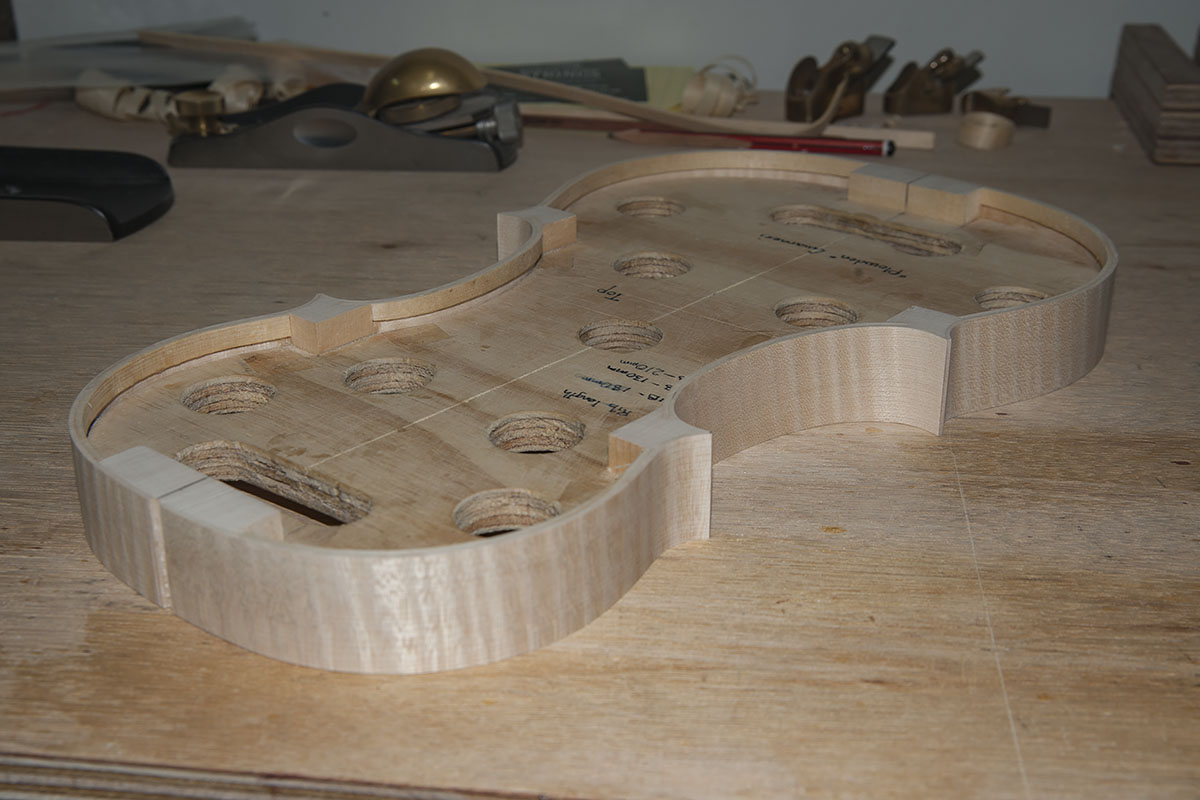
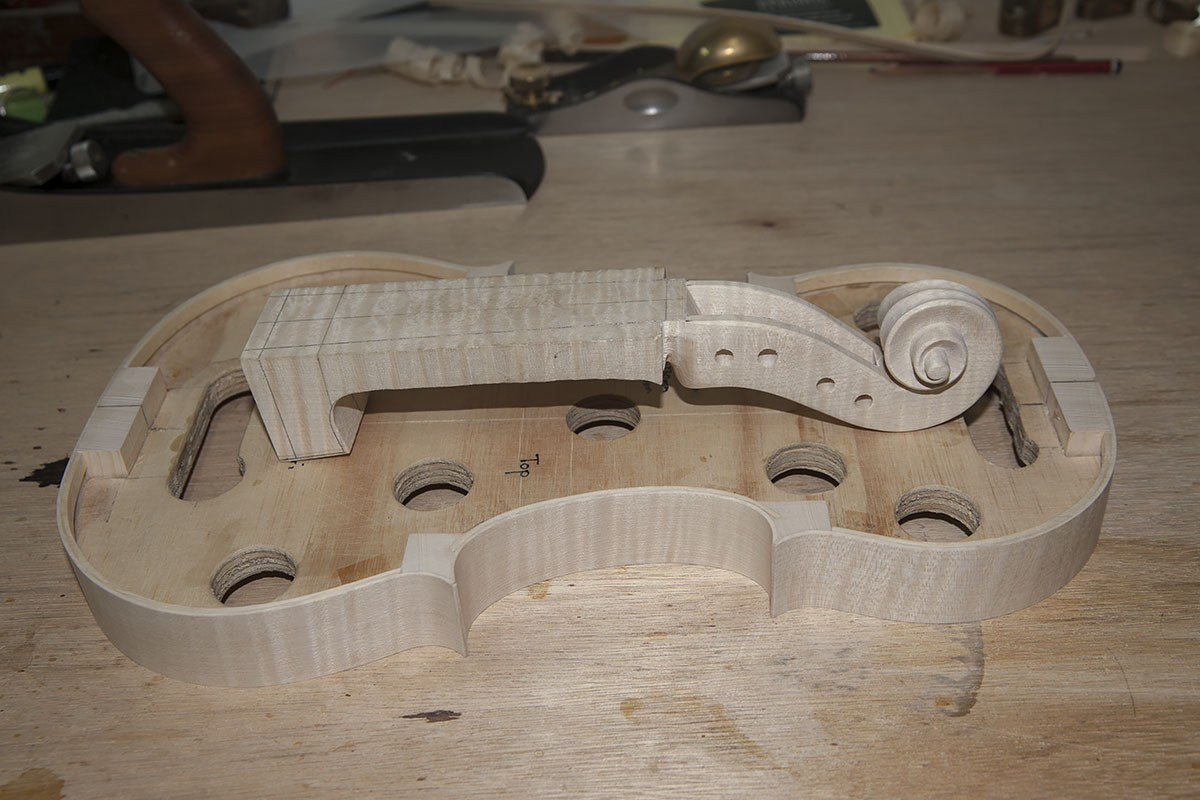
Here is the violin so far. Time to start on the back.
Leave a Reply
Want to join the discussion?Feel free to contribute!